| (back to Site Owner Help)
1. Open your WorkStation 2. On the Settings menu, click Site contents
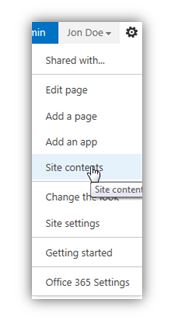 3. Click new subsite. 4. Enter a title, description, and URL. Under Select a template, select Blog.
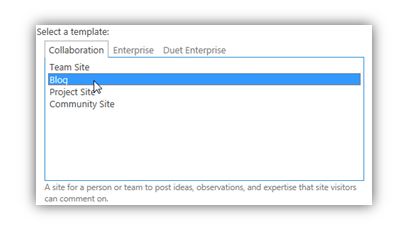
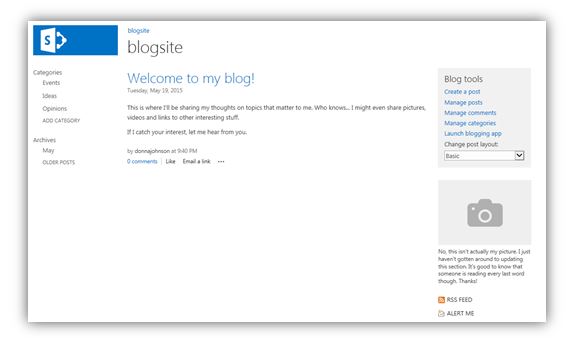
5. Click OK Once your blog site is created, this is what you'll see…
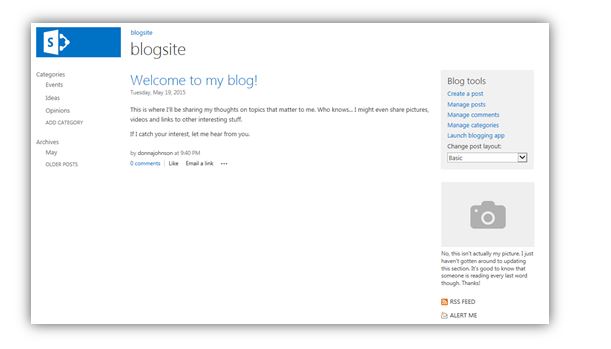
When you create a blog, it contains the following lists, libraries and features to help you create content and interact with readers: -
Posts: Use the Posts list to view and manage all of your posts. Posts are an essential part of a blog and where you communicate with your readers through dated entries.
-
Comments: Get feedback on your blog posts through comments from your readers. You can see reader comments by viewing each post, or you can see all the comments in your blog by viewing the default Comments list.
-
Categories: Use categories to organize your posts so that readers can easily find the posts that they are most interested in.
-
Other Blogs List: Use this list to store links to other blogs, such as related Web sites or background information. The Links list includes links to your Photos library and blog archives by default.
-
Photos: The Photos list is a picture library where you can store photos of interest and link to them from your blog posts.
-
Permalinks: A permalink is the web address to a specific post on a blog, and it enables a post to always be accessible by a URL, even if the post is archived. If someone wants to reference a previous blog post, or if you want to refer to someone else's post, you should use it's permalink
-
Archives for posts: Posts are archived by day and by month, so that you and your readers can browse for posts based on certain dates. A blog contains two default views of the calendar; one view shows your posts in a standard list view, and the other view shows your posts in a calendar view.
-
RSS Feeds: You or your readers can stay updated on blogs by subscribing to RSS feeds. RSS is a technology that provides a convenient way for you to distribute and receive information in a standardized format.
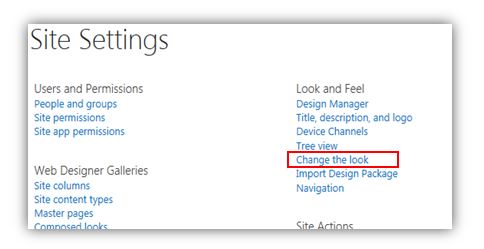
First, personalize it to make it more your 'own'Just like any other site in SharePoint, you can change the overall look of your site. Site Settings > Change the Look
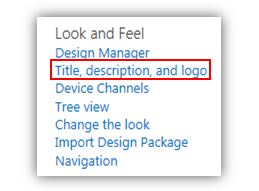
 You can change the logo
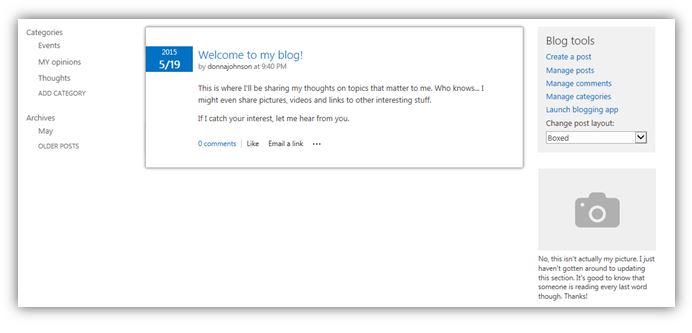
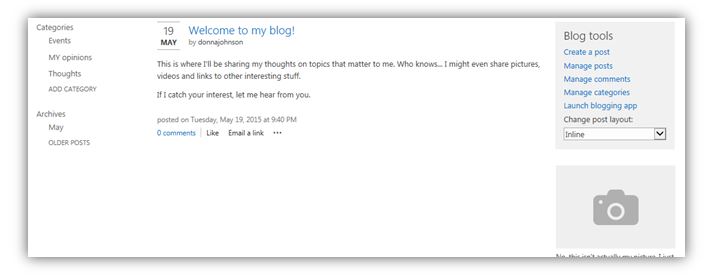
 You can change the post layout
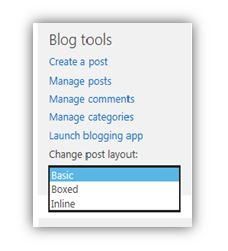 Basic:
 Boxed:
 Inline:
 To change this picture, click Edit Page in the upper right corner (or Edit from the Page tab on the top ribbon)
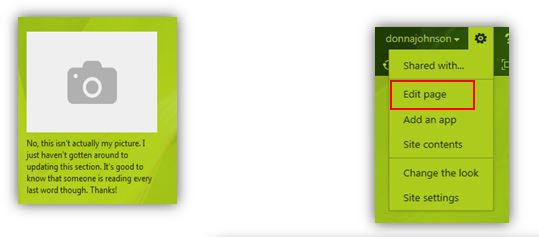
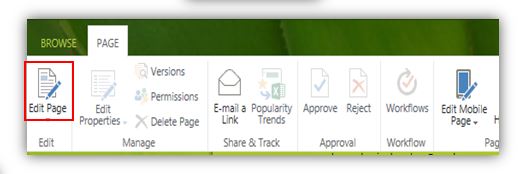 When you're in Edit Page mode, click on the picture
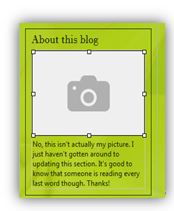 That will open up several options on the upper ribbon Before:
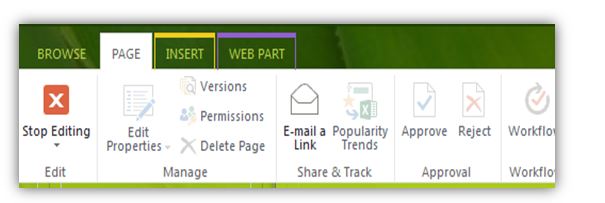 After:
 Click on the image tab Click Change Picture
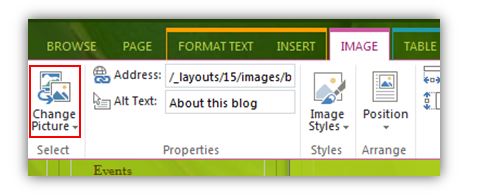 Then go back to the Page tab and click Stop Editing
Out of the box, the blog template comes with some predefined categories. Chances are, though, that you'll have your own idea of what categories are appropriate for your blog. To modify the categories, click the Manage categories link
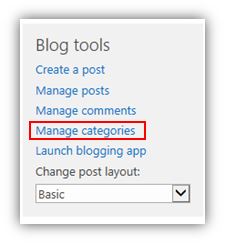 These are the predefined categories
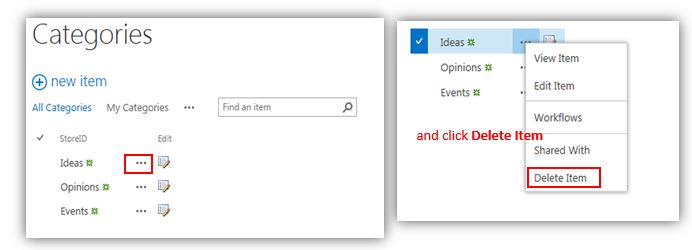
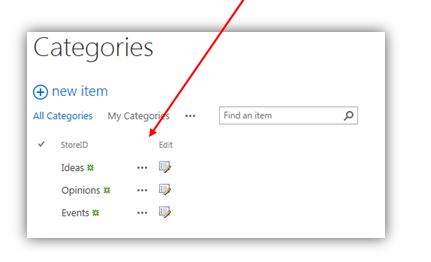 To delete a category, press the ellipsis by that category name.
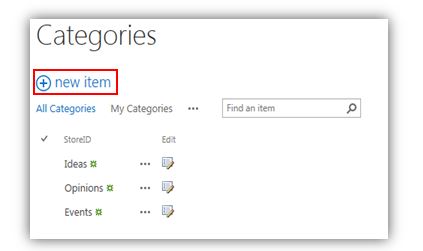
 To add your own category, click the new item icon.
 Name your category and click Save
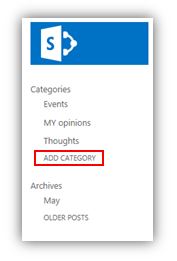
 Also, you can add a category quickly from the Quick Launch menu
 Alternately, you could just rename the current categories with your own custom titles.
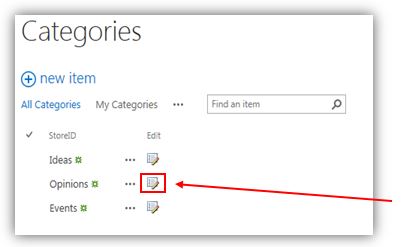 Click the Edit icon And replace their title with your own title.
 and click Save
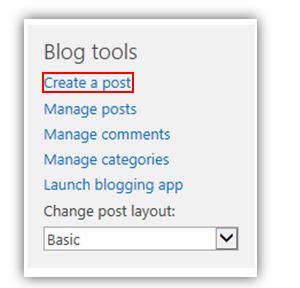
 So…now you're ready to 'blog'!!! Click Create a post
(back to Site Owner Help)
Set permissions on your BlogBy default all site members can edit all posts. You can change that so everyone can only edit their own posts and, of course, create new ones. To set these permissions:
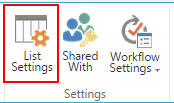
Go to your blog and click Manage posts Go to the Lists tab and click List Settings
 | 
|
| 
