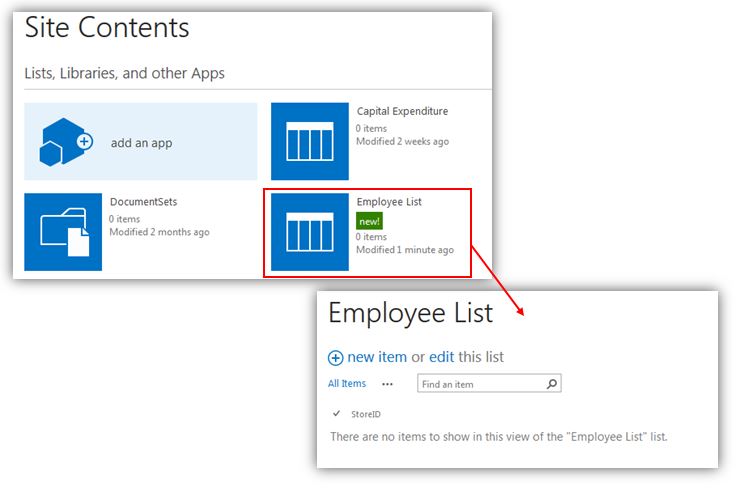
First create your list (let's call it 'Employee List')
If you don't know how to create a list, click here
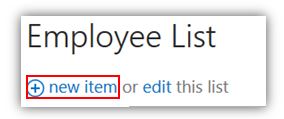
 You can see that if you were going to create a new item, you only have a choice of one type of generic item:
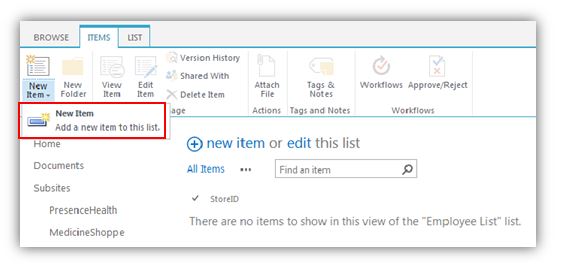
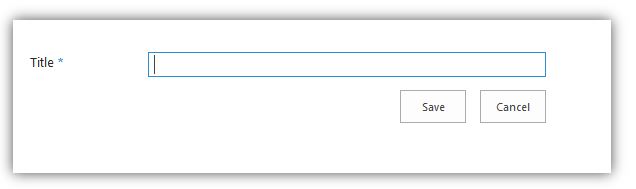
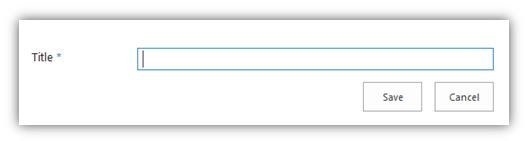
And if you click on that New Item:
For this example, let's say you have different TYPES of Employees…Hourly Employees and Salary Employees.
To create a new content type
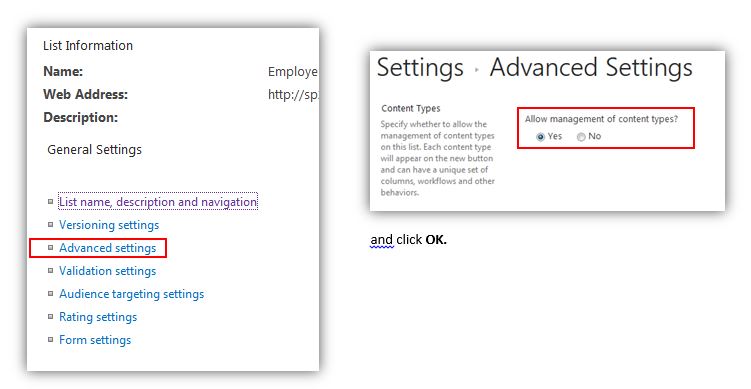
Go to List Settings

>
Advanced Settings > Allow management of Content Types
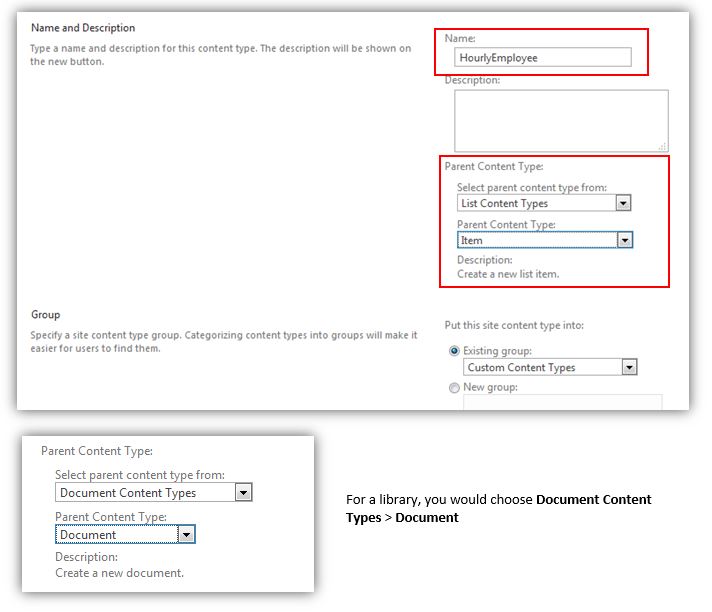
 Name your type of Employee and choose
List Content Types >
Item (for a list)
Name your type of Employee and choose
List Content Types >
Item (for a list)
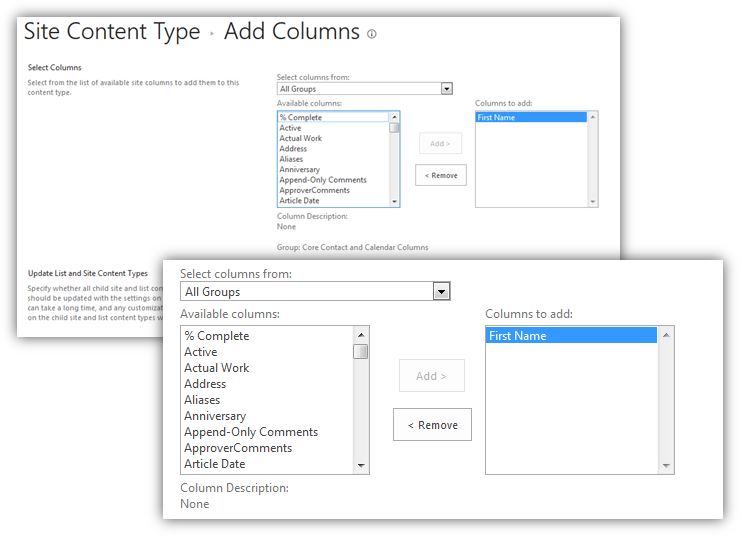
Now you need to add some site columns to your content type.
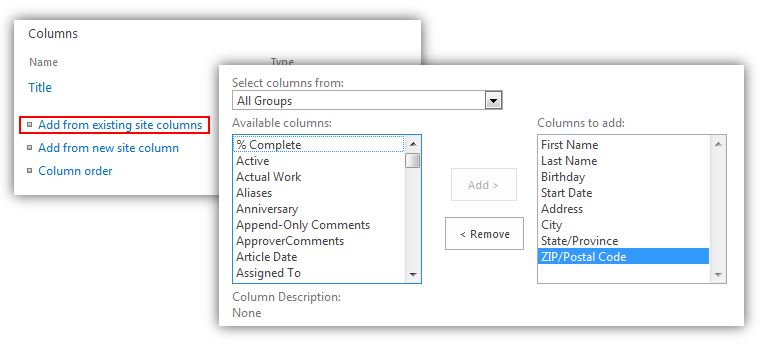
You can choose from already existing site columns
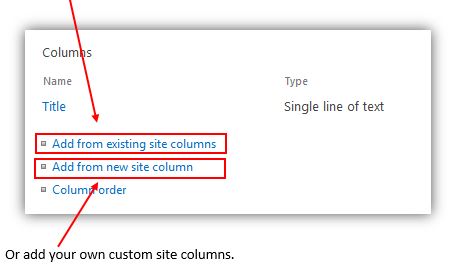
Add from existing site columns:
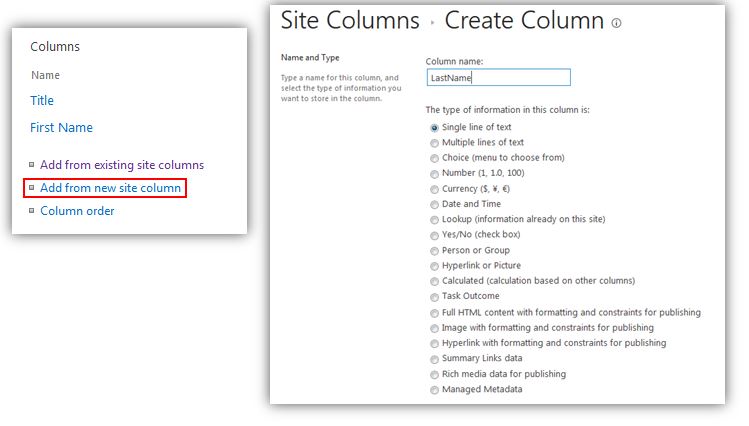
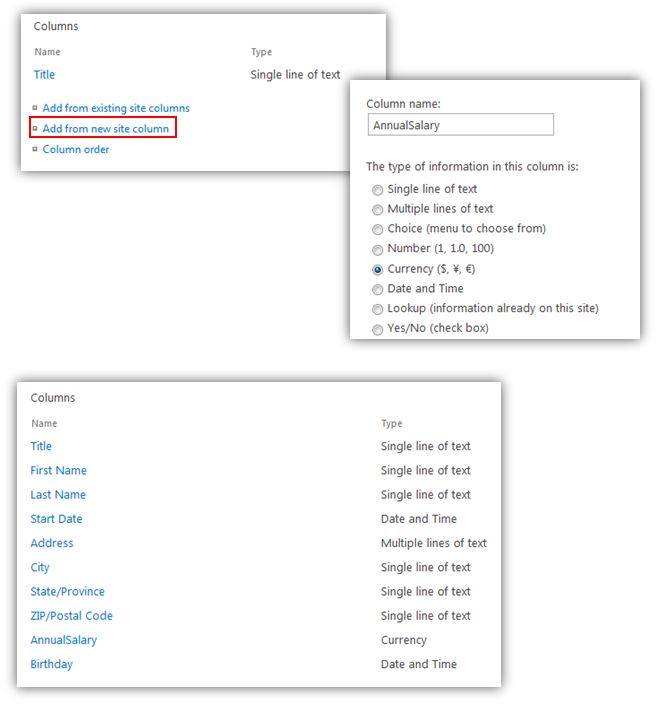
Add new site column:
Then add the rest of your site columns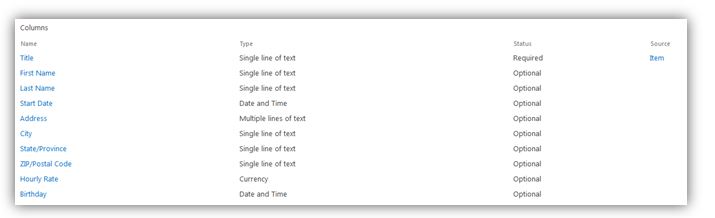
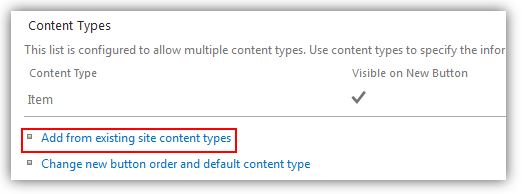
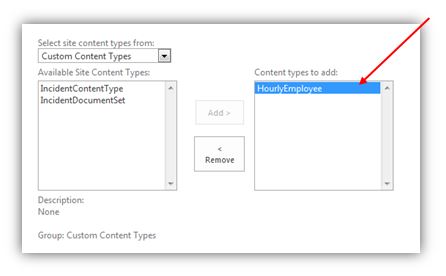
Next you'll need to associate this new content type with this list. Go to
List Settings. In the Content Types Section, click Add from existing site content types
And find the content type you just created and click
OK
Now when you go to your list and click New Item, you have 2 different types to choose from
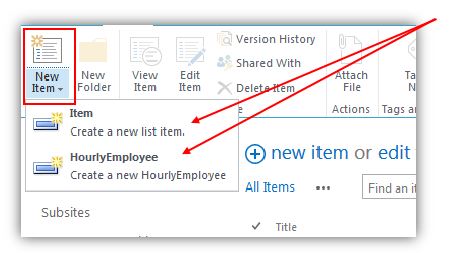
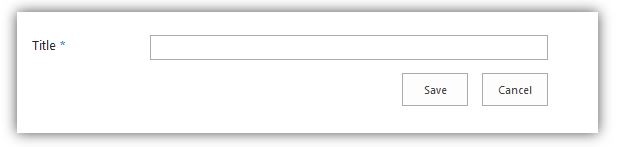
If you choose the regular/basic 'Item':
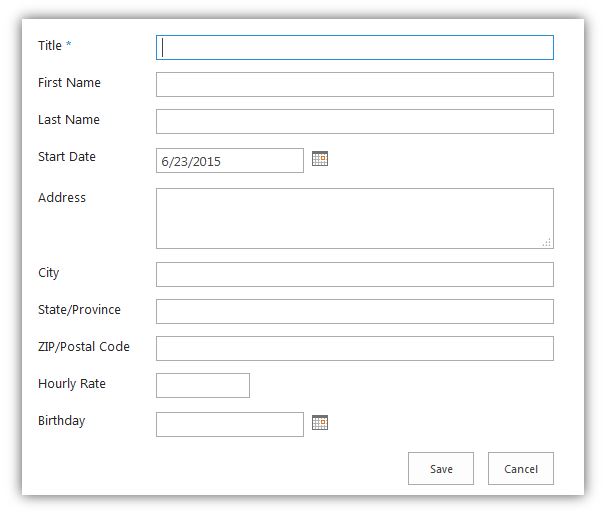
But if you choose your new Hourly Employee:
So, now you need to create your Salaried Employee Content Type.
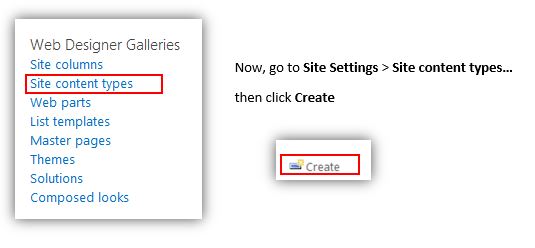
Site Settings >
Site content types >
Create

Add your columns
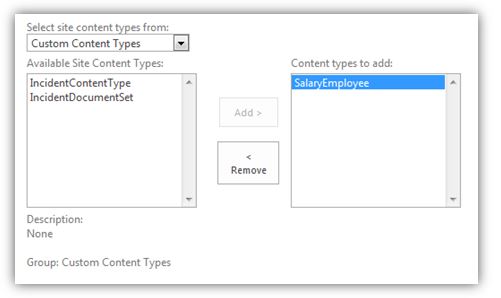
Then associate the Salary Employee with the Employee List.
Employee List >
List Settings >
Add from existing content types
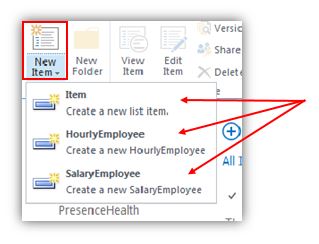
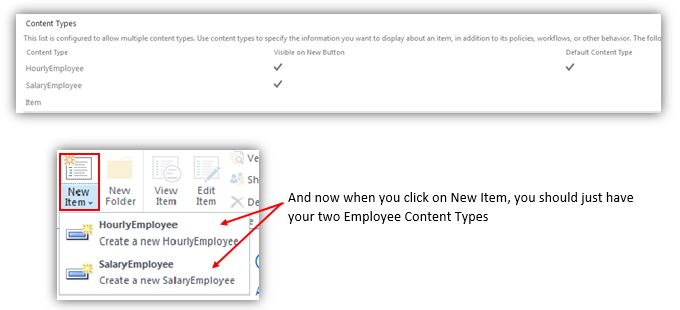
Now when you create a new item, you have 3 types to choose from
Currently the default is still set to 'Item'

So if you click on
+ new item
It will open up the basic item type
But that can be changed in the List settings. For this example, we just want the two types of employees, so we're going to 'get rid of' the basic
Item type.
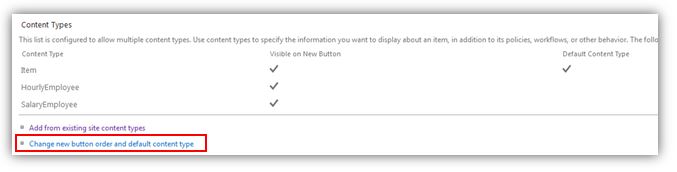
Go to
List Settings. Under Content Types, click on
Change new button order and default content type
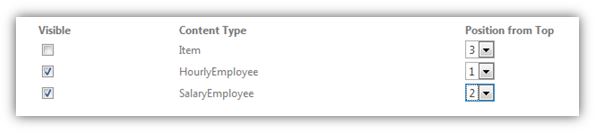
Make Item not visible and you can change the order. Then click
OK
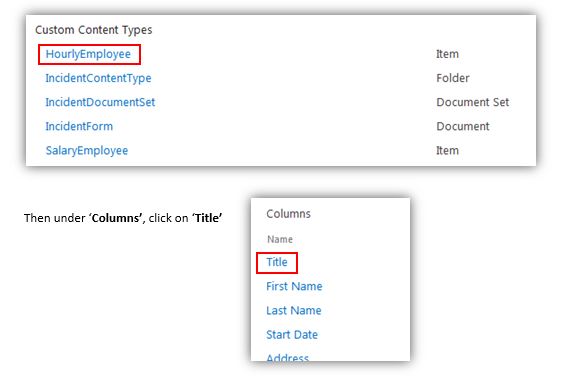
To hide the 'Title' field
The 'Title' field doesn't really fit in this example. You can't DELETE the title field, but you can HIDE it.
Site Settings >
Site Content Types. Click on the 'HourlyEmployee Content Type
And choose the ‘Hidden’ option and click
OK
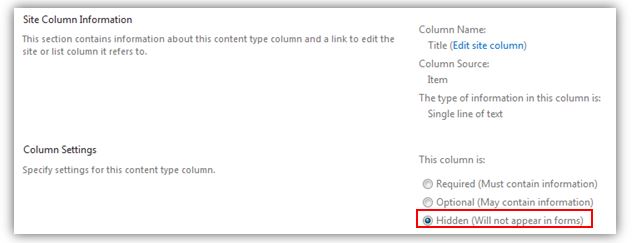
Then do the same for the SalaryEmployee. Now when you click on a New Hourly Employee or a new Salary Employee, the
Title field does not show
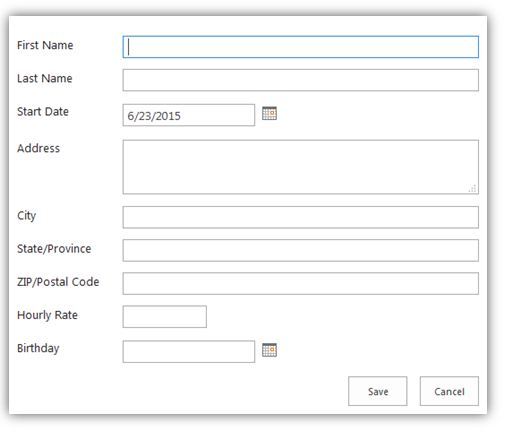
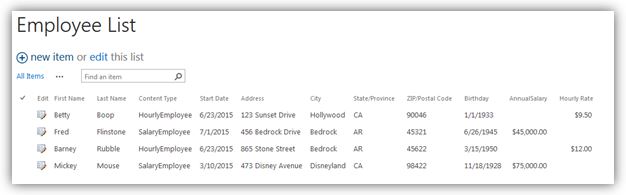
So,
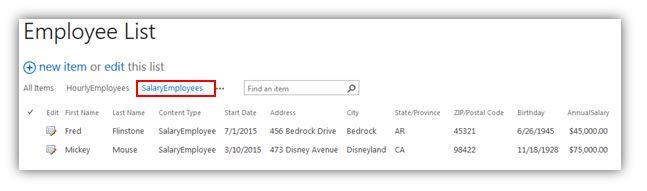
if you were to add some employees (a few of each different type), it would look like this:
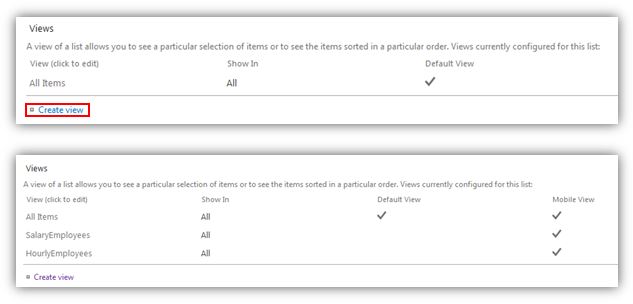
You could create a view for each of the different types:
List Settings >
Create View
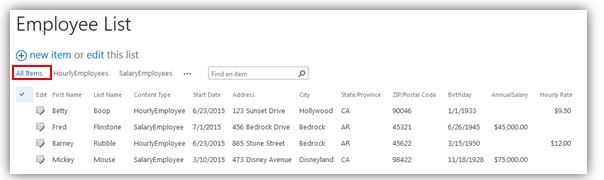
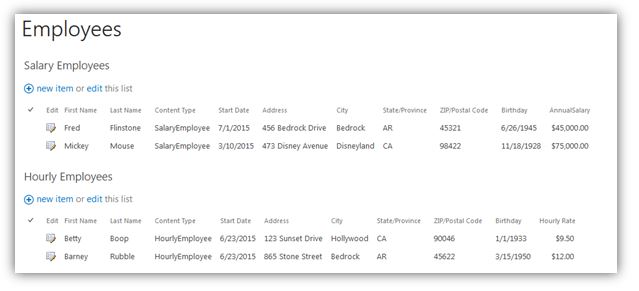
So, then you could see the information based on what you want to see.
All Employees:
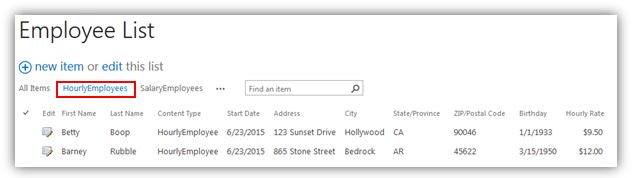
Hourly Employees:
Salary Employees:
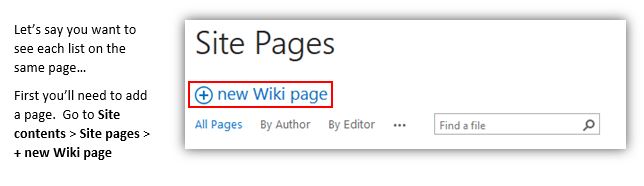
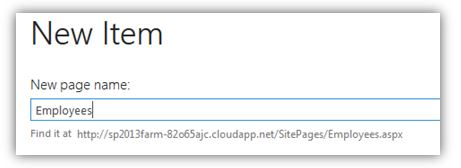
Name the page and click
Create
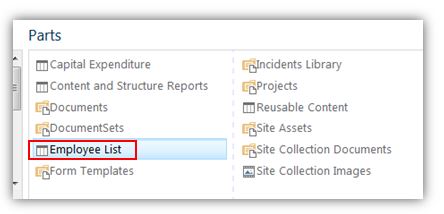
Add a web part to the page (Insert >
Web Part >
Employee List Web Part >
Add
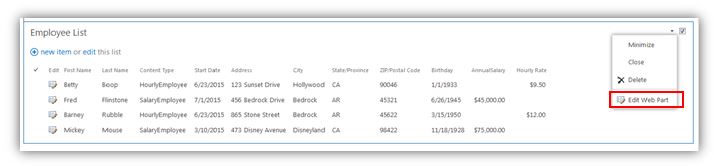
On the far right, click
Edit Web Part
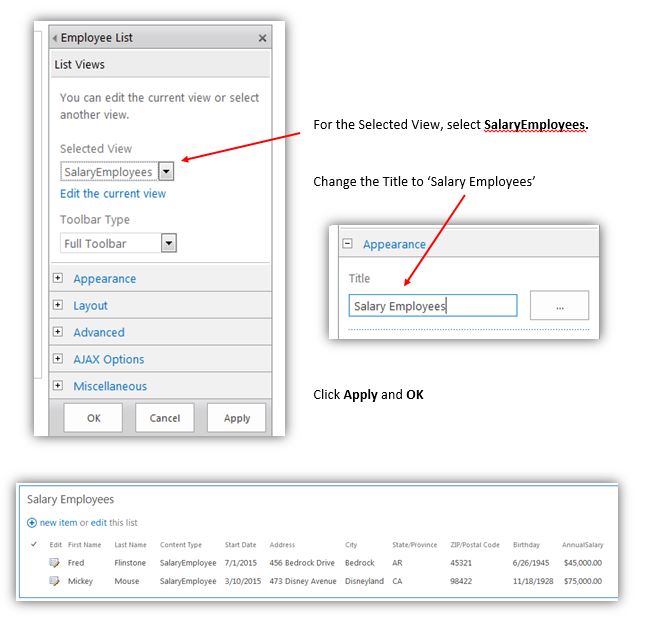
Now you’ll have to add another web part and do the same as above except for Hourly Employees.
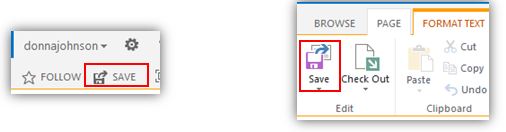
When complete, push
Save to save the page
(back to Site Owner Help)