​​​SharePoint blogs can easily help enhance collaboration, share knowledge, and publish news and updates.  Blogs contain posts, sometime similar to journal entries from a person or a group.  The posts are dated and listed in reverse chronological order.  People can comment on posts as well as provide links to related sites, photos and blogs.

​To Create a Blog Si​te

(back to Site Owner Help)

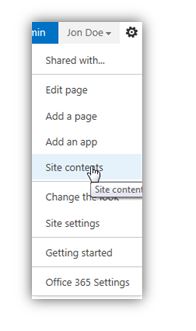
1.  Open your WorkStation

2. On the Settings menu, click Site contents​

blog1.JPG 

3.  Click new subsite.

4. Enter a title, description, and URL.  Under Select a template, select Blog.

blog2.JPG  

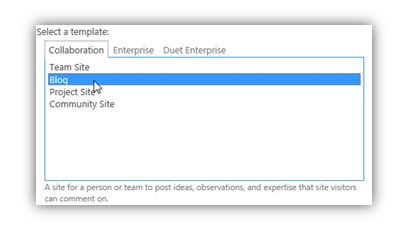
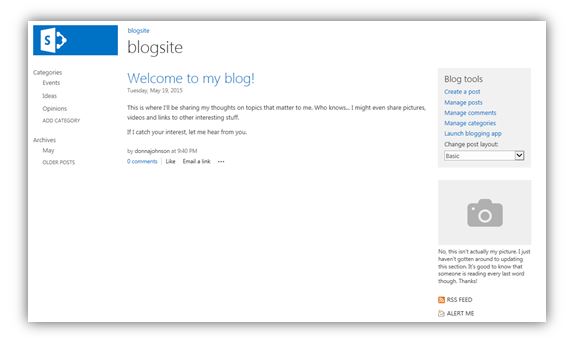
5.  Click OK

Once your blog site is created, this is what you'll see…

blog3.JPG  

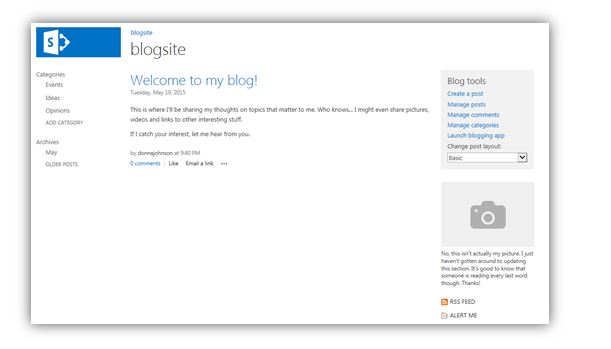
When you create a blog, it contains the following lists, libraries and features to help you create content and interact with readers:

  • Posts:  Use the Posts list to view and manage all of your posts.  Posts are an essential part of a blog and where you communicate with your readers through dated entries. 
  • Comments:  Get feedback on your blog posts through comments from your readers.  You can see reader comments by viewing each post, or you can see all the comments in your blog by viewing the default Comments list.
  • Categories:  Use categories to organize your posts so that readers can easily find the posts that they are most interested in.
  • Other Blogs List:  Use this list to store links to other blogs, such as related Web sites or background information.  The Links list includes links to your Photos library and blog archives by default.
  • Photos:  The Photos list is a picture library where you can store photos of interest and link to them from your blog posts.
  • Permalinks:  A permalink is the web address to a specific post on a blog, and it enables a post to always be accessible by a URL, even if the post is archived.  If someone wants to reference a previous blog post, or if you want to refer to someone else's post, you should use it's permalink
  • Archives for posts:  Posts are archived by day and by month, so that you and your readers can browse for posts based on certain dates.  A blog contains two default views of the calendar; one view shows your posts in a standard list view, and the other view shows your posts in a calendar view.
  • RSS Feeds: You or your readers can stay updated on blogs by subscribing to RSS feeds.  RSS is a technology that provides a convenient way for you to distribute and receive information in a standardized format.

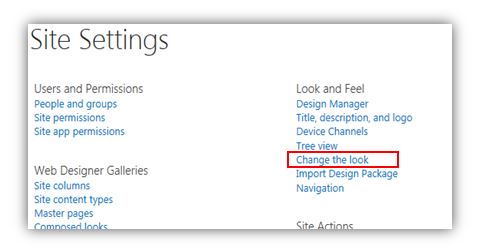
First, personalize it to make it more your 'own'

Just like any other site in SharePoint, you can change the overall look of your site.

Site Settings > Change the Look

blog4.JPG 

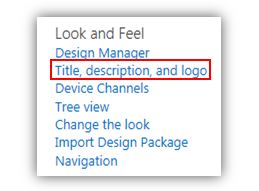
You can change the logo

blog5.JPG 

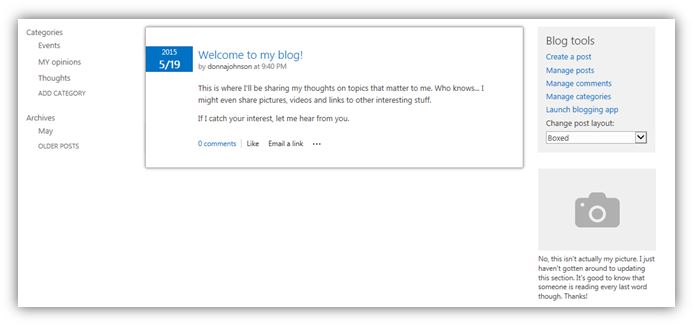
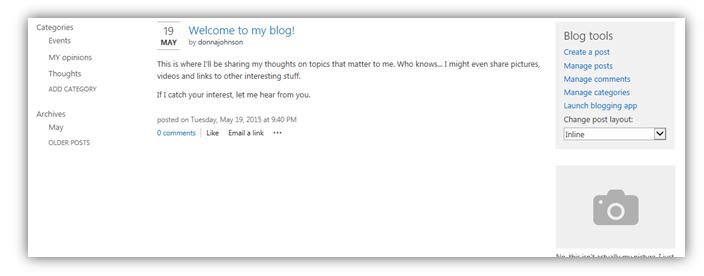
You can change the post layout
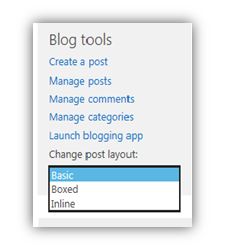
blog6.JPG 

Basic:

blog7.JPG 

Boxed:


blog8.JPG 

Inline:

blog9.JPG 

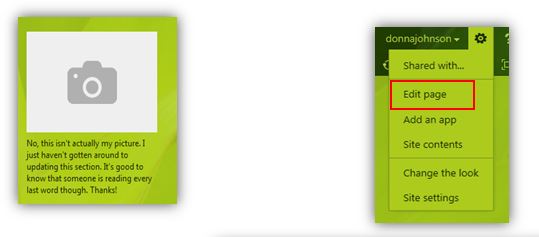
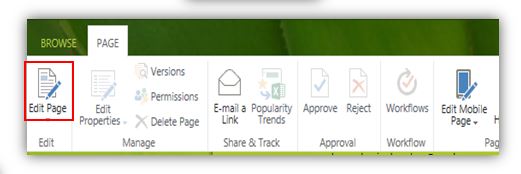
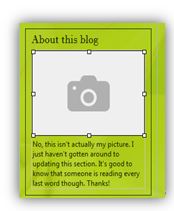
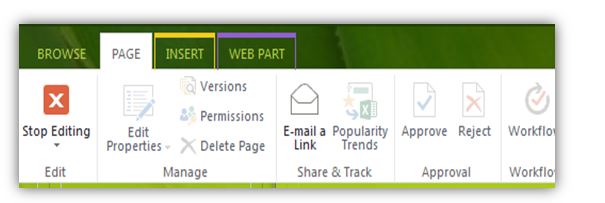
To change this picture, click Edit Page in the upper right corner (or Edit from the Page tab on the top ribbon)

blog10.JPG 

blog11.JPG 

When you're in Edit Page mode, click on the picture

blog12.JPG 

That will open up several options on the upper ribbon

Before: 

blog13.JPG 

After:

blog14.JPG 

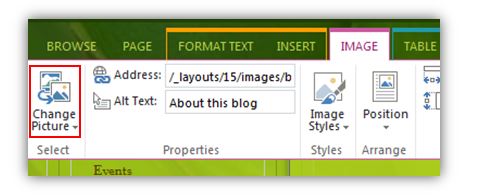
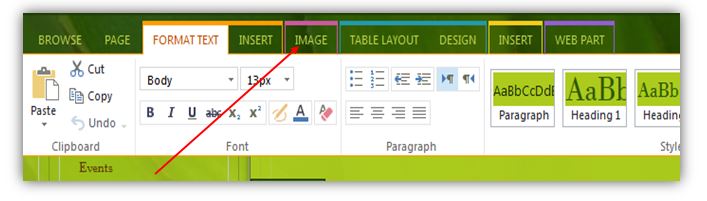
Click on the image tab

Click Change Picture

blog15.JPG 

Then go back to the Page tab and click Stop Editing


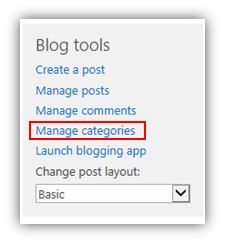
Out of the box, the blog template comes with some predefined categories.  Chances are, though, that you'll have your own idea of what categories are appropriate for your blog.  To modify the categories, click the Manage categories link

blog17.JPG 

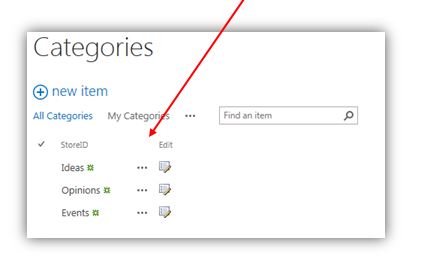
These are the predefined categories

blog18.JPG 

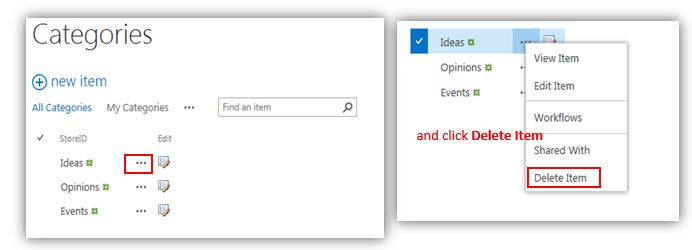
To delete a category, press the ellipsis by that category name. 

blog19.JPG 

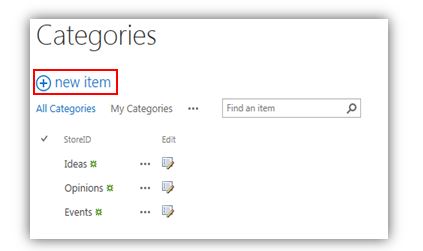
To add your own category, click the new item icon.

blog20.JPG 

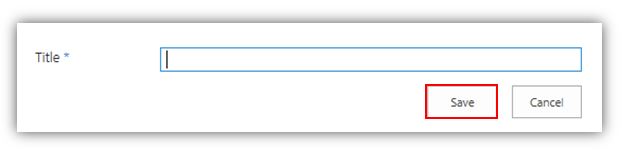
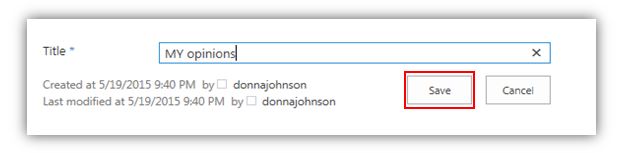
Name your category and click Save

blog21.JPG 

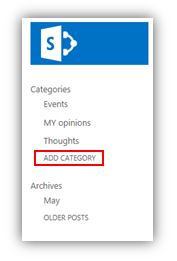
Also, you can add a category quickly from the Quick Launch menu

blog22.JPG 

Alternately, you could just rename the current categories with your own custom titles.

blog23.JPG 

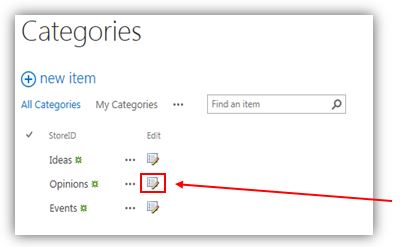
Click the Edit icon And replace their title with your own title.
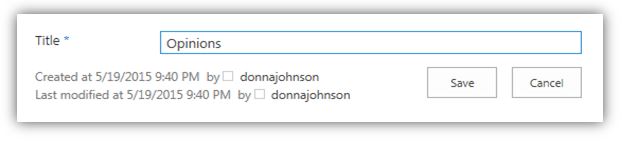
blog24.JPG 

and click Save

blog25.JPG 

So…now you're ready to 'blog'!!!  Click Create a post

blog26.JPG ​

(back to Site Owner Help)

Set permissions on your Blog

​By default all site members can edit all posts. You can change that so everyone ​can only edit their own posts and, of course, create new ones. To set these permissions:

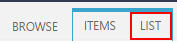
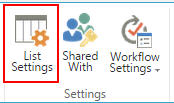
Go to your blog and click Manage posts

Go to the Lists tab and click List Settings

list_tab.jpglist_settings2.jpg

​See Also:

Quick Reference Card

​Click on Advanced Settings, check the radio button shown under Create and Edit access, then click OK.

blog_permissions.jpg

Post to your Blog

​(back to Site User Help)                     (back to Site Owner Help)

Once your Blog site has been created, you are ready to 'blog'.  Click Create a Post

blog26.JPG 

Title your post.  What you want to say goes in the Body.  Choose a category and Publish

blog27.JPG 

blog28.JPG 

blog29.JPG 

and you'll see your latest entry on top. 

You can edit your post (if you see mistakes or want to change something)

blog30.JPG 

Or you can share the entire blogsite with others.

blog31.JPG 

and grant their permissions.

blog32.JPG 

Other people (who you've given access) can 'like' or comment on your posts

blog33.JPG 

Click on 1 comment to see your comment

blog34.JPG 

blog35.JPG 

and you can comment back.

blog36.JPG 

blog37.JPG 

You can copy items from another website (if you won’t get in trouble for plagiarism) and paste it right into your post:

blog38.JPG 

blog39.JPG 

(back to Site User Help)                    (back to Site Owner Help)

Add a Picture to your Blog Post

(back to Site User Help)                          (back to Site Owner Help)

First you'll need to create a post

blog40.JPG 

When typing your post, just put the cursor wherever you want to place the picture and click the Insert tab

insert.JPG 

 And then insert picture (you can either add from your computer, from a url address or from Sharepoint)

blog42.JPG 


You can also format your text (change fonts, sizes, colors, headings, etc.)  Again, just like in Word, highlight the text you want to change and use the tools on the ribbon to change


You can also upload files, insert links and even a video file!  (or link to a video file posted somewhere else)

Insert > Video and Audio > From Computer

blog45.JPG 

blog46.JPG 

Browse for the file and click OK

blog47.JPG 

blog48.JPG 

At any time you can edit your post

blog49.JPG 

Perhaps you decided you would just rather link to the video rather than actually store the file in SharePoint

blog50.JPG 

blog51.JPG 

Click Publish

 blog52.JPG

blog53.JPG 

(back to Site User Help)                         (back to Site Owner Help)

​Editing a Blog Post

(back to Site User Help)              (back to Site Owner Help)

At any time you can edit any of your blog posts. 

Go to the bottom of the post and click on the ellipsis - then click Edit

blog49.JPG 

Just change what you want to change and then click Publish at the bottom

publish.JPG 

(back to Site User Help)                               (back to Site Owner Help)

Use Blogging App to post to a SharePoint Blog Post


(back to Site Owner Help)

When posting to a SharePoint Blog, you can create your post on the Blogsite itself, but sometimes it's easier to use a Blogging App to help.

Under Blog tools, click Launch blogging app

b1.JPG 

It doesn't 'react' right away and appears to not be doing anything, but after a minute or so, it will open up an empty word document on your computer that looks like this

b5.JPG 

Enter a title for your site

b4.JPG 

Then you can start creating your blog right in that document (or if you have it already somewhere else in a file, just copy and past into the blog app word document. Depending on how your original document was formatted, you may need to do a little reformatting in this blog word document to get it to look how you want it to look.

When your post is complete and you want to publish it to your SharePoint blog site, just click Publish in the upper left hand corner

b2.JPG  

After you publish, you can then go to your blogsite and see your post

 b3.JPG

*Note: The first time you use the Launch Blogging App, it will ask you to 'register'

You have a choice of how you want to store pictures from the blog post

You can either:

  • *store them on the blogsite
  • *store on your own server
  • *or don't store the pictures at all


Click OK  

(back to Site Owner Help)