⚠ This is an
archived version of our Community Check Box help documentation.
Please find our most up to date documentation at
Community Check Box Help.
Accomplishment Management
NOTE: These instructions are for Site Owners and KU staff. Individuals assigned to Members groups will not see the Administration options mentioned below.
Correct customization of the CCB form is crucial, as it constitutes the main tool for documentation in the CCB. Our staff will work with you to create your CCB form. As a Site Owner you have the ability to manage the form(s) if you want. If you need technical assistance please contact us at toolbox@ku.edu, or by calling 785-864-0533.
The aim of customizing your CCB form is to collect data in the clearest and easiest way possible. Form Customization allows Site Owners to choose or create the questions that will be displayed in the
Enter Data area of the CCB. Each user entry is referred to as an Accomplishment. It is helpful to create an outline of the questions and response choices you want in your CCB before you begin modifying fields in the CCB itself. (KU staff can provide assistance to help you with this task.) Think about what your initiative needs to track, and consider how you want the user to answer each question. For example, you might want to control how a user answers a given question by making the question multiple choice, which allows you to define the choices, or you might consider asking a question where the user needs more freedom to respond, and thus you would use a text line or text box to capture the user's response, whatever it may be.
Before you start
Download the Template for a creating CCB form. This Excel document contains an overview and four tabs that provide the information you need to setup the CCB form correctly. There are quite a few choices to make on each question. Things like whether the field is required, if you want to use it to filter or graph, what type of field it should be, etc. This document gives you a place to think through and document all those answers in one place. Whether you setup the CCB form, or we do it, it is very helpful to have this form completed before the CCB form is created.
Create a new CCB form 
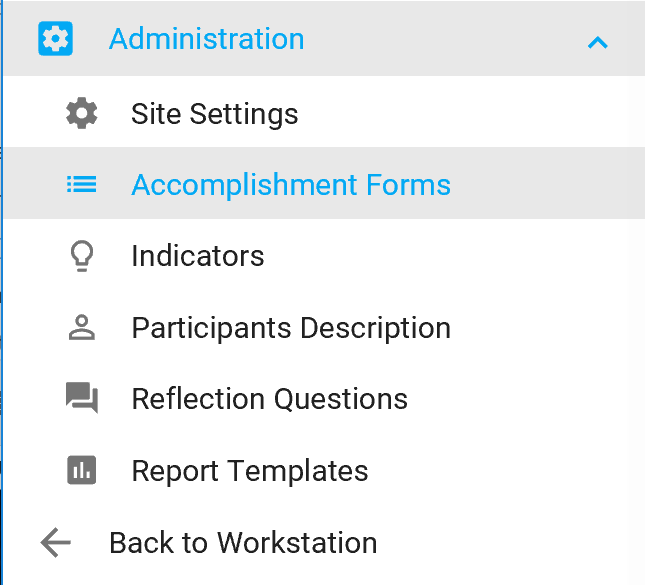
To create a new CCB form, or to manage an existing one, click on
Administration and then Accomplishment Forms in the left navigation bar.
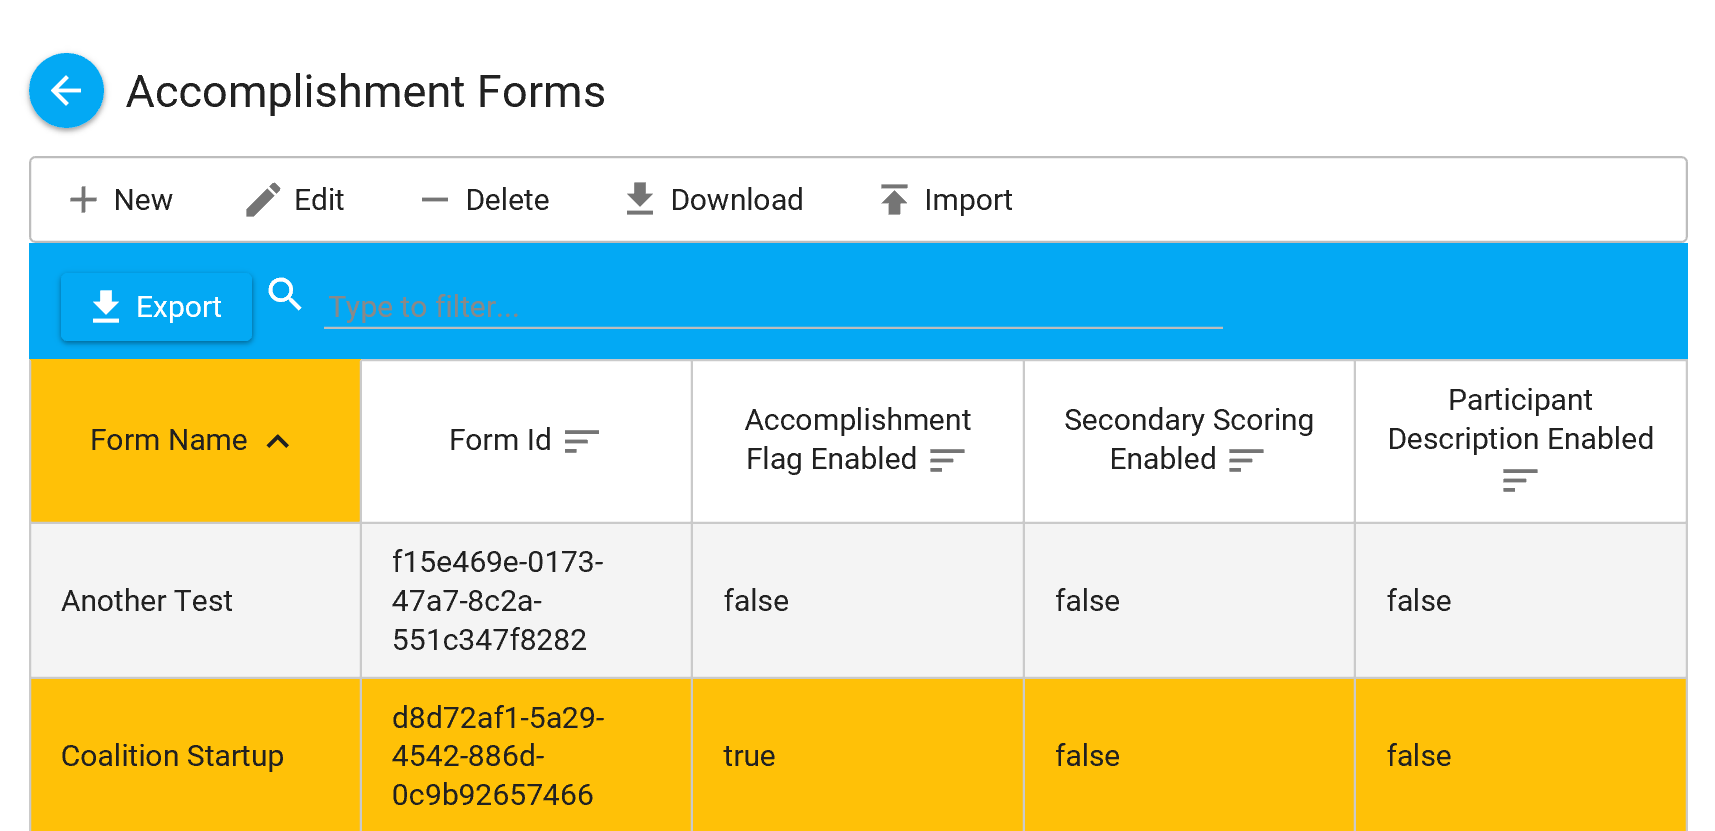
The Accomplishment Forms page allows you to create, edit, delete, download, or import an accomplishment form.
-
New - create a new CCB form
-
Edit - click once on the form and then click Edit to open and make changes.
-
Delete -
this will delete the entire form you have selected.
-
Download is one of the most useful resources inside of the Manage Forms option. It will save the forms you build in a text file, with all Fields, Sections, Trigger, and Help configurations preserved. It is especially helpful when you want to develop a master form template to be used in several CCB Sites. Just click on Download when you are finished building your form. Save it to your computer, and you will be able to upload it into other CCB Sites with the Import button.
-
Import - allows you to import a CCB form you have downloaded, or easily map fields from an existing external data source to your CCB form.

-
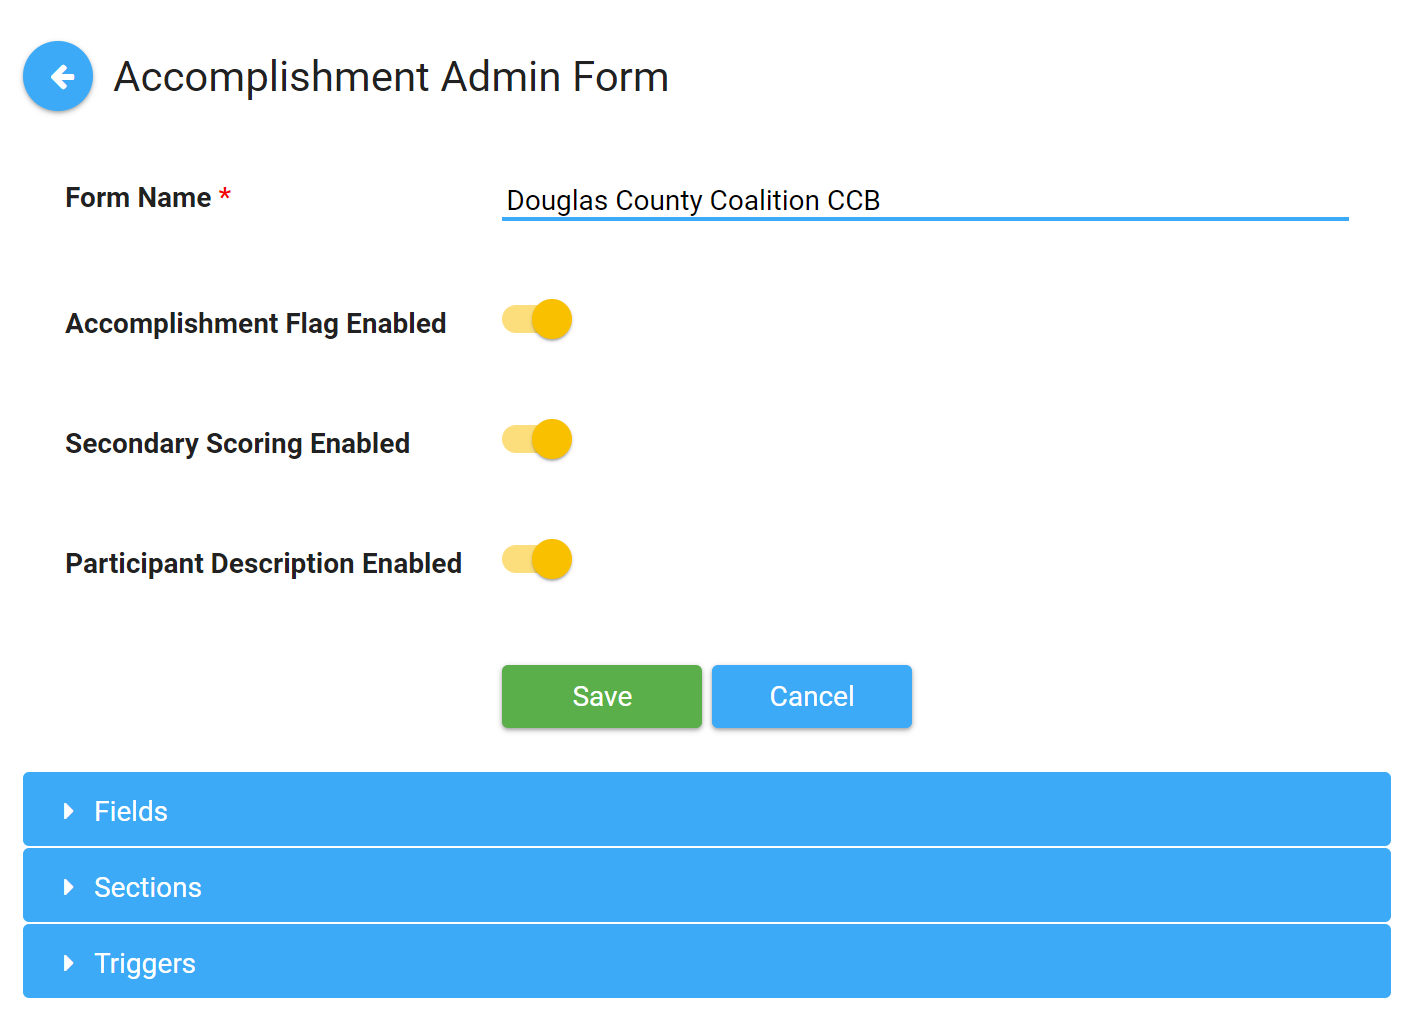
Click New to name the form, and set some general preferences.
-
Form Name - name the form, e.g., Douglas County Coalition CCB.
-
Accomplishment Flag Enabled - This is associated with Secondary Scoring. If you are using Secondary Scoring, enable the accomplishment flag if you want the flags to appear on the Accomplishments listing page. The first column on that listing page will show a green, yellow, or red flag based on the level of agreement for the code selection between the initial observer and the secondary scorer.
See more on secondary scoring.
-
Secondary Scoring Enabled - Enable this if secondary scoring will be done on this form.
-
Participant Description Enabled - Enable this if you will be collecting participants description data (e.g., number of people attending an event) on this form.
-
Default Form View – This shows a red asterisk, which means that the field is required, but the system will assign the default view of this new form for you. If you want to change the view after you have created saved views for this new CCB form, you can do that here.
-
Click
Save if you want to save the form.
-
Click
Cancel if you don't want to save the form.
-
Click once to select your form on the
Accomplishments Forms page, and click
Edit
to begin creating the form. You will now see three bars named
Fields,
Sections
and
Triggers added to your screen. Click on a bar to view the information under that bar.
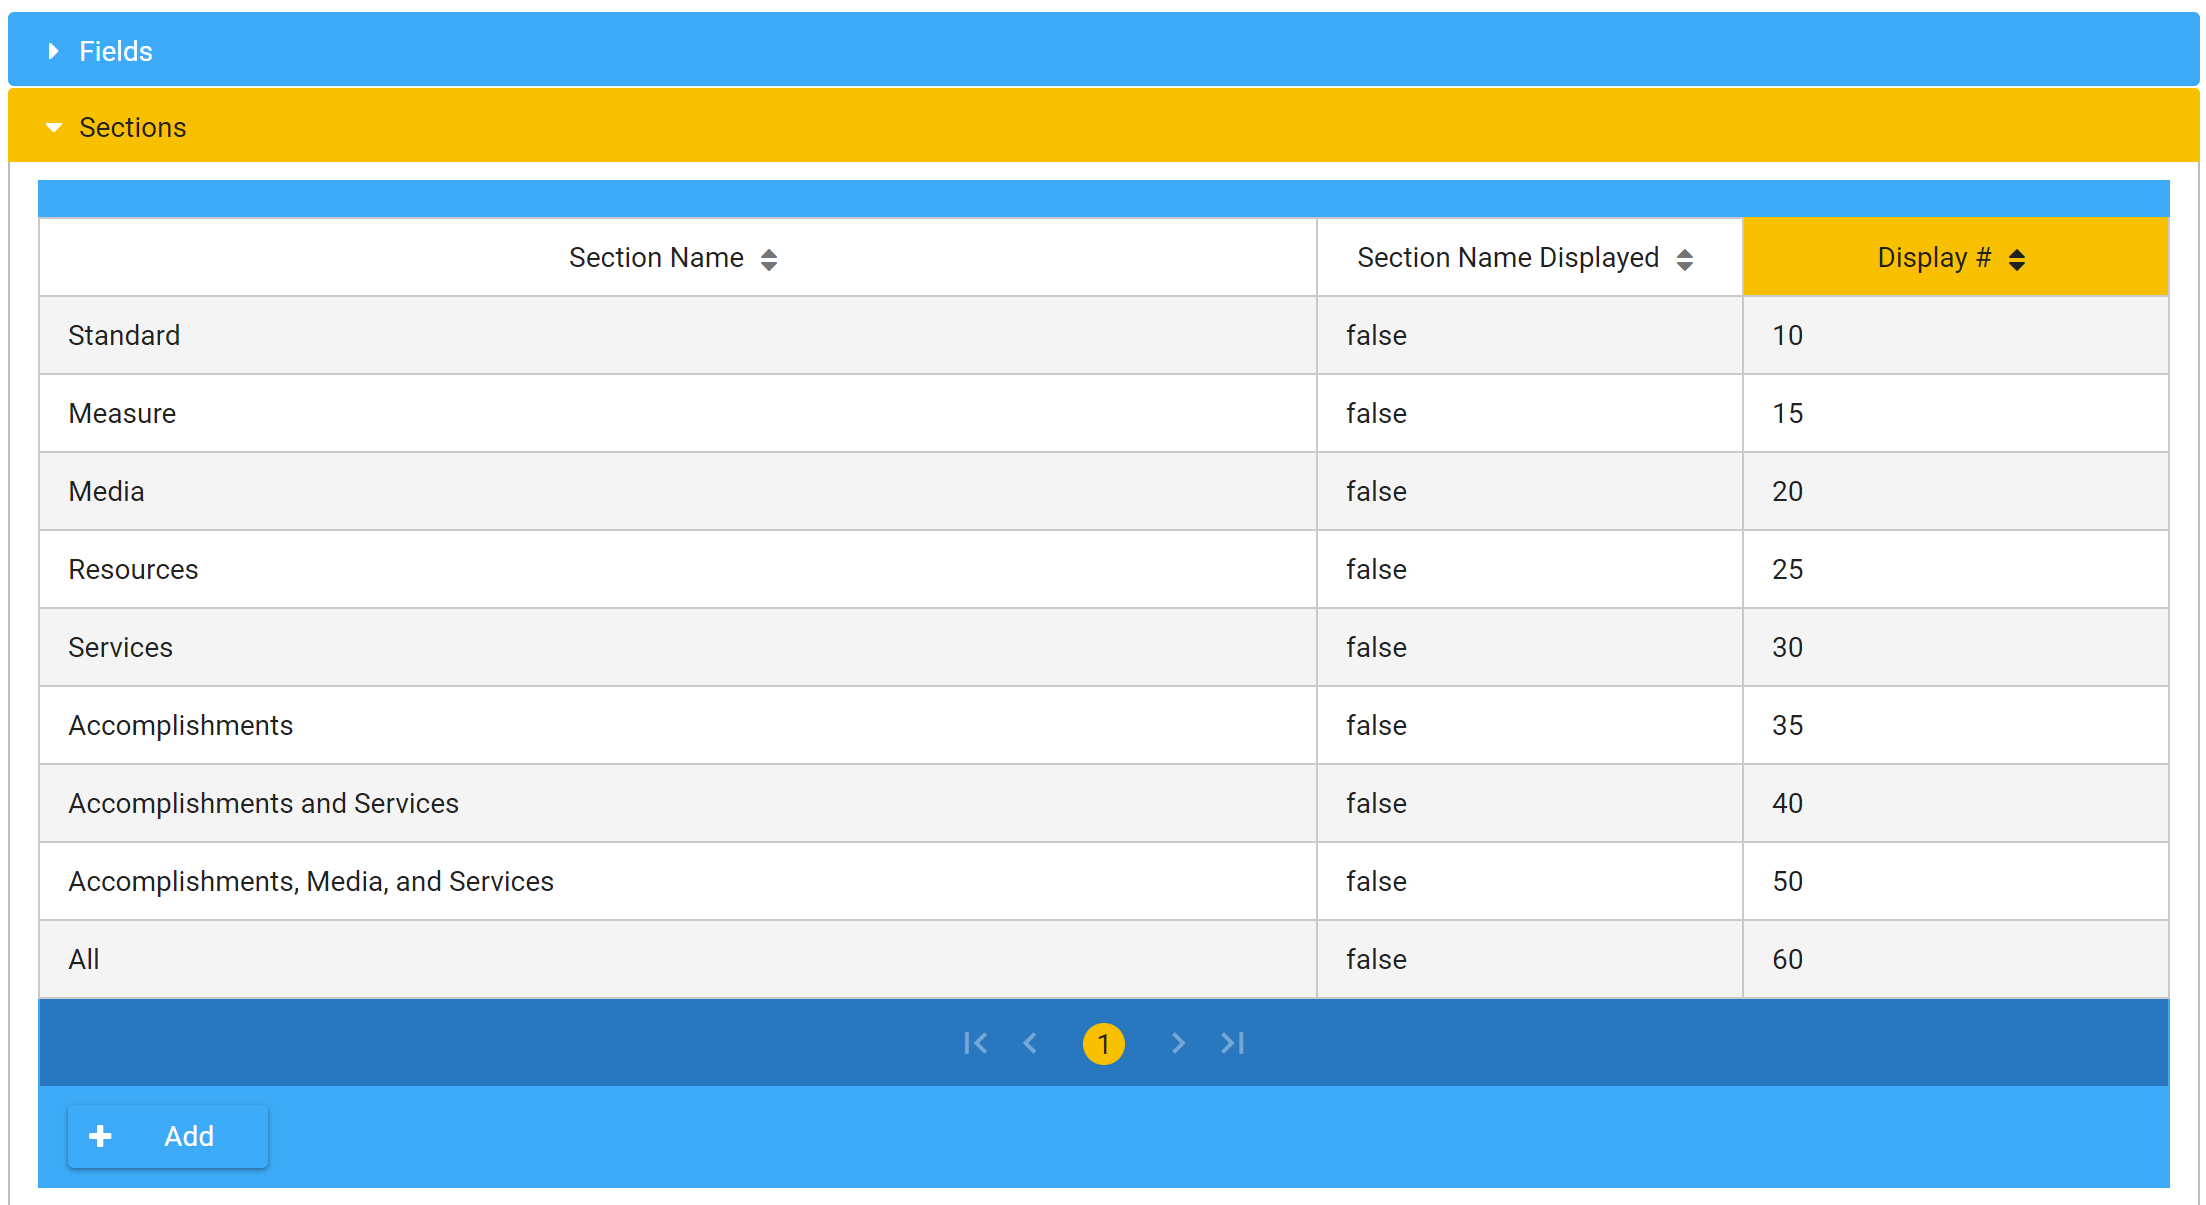
Sections are important for two reasons:
- Sections determine the display order of your questions.
- Sections are used for triggers. See
Triggers Explained for more details.
Each field (question) you create is assigned to a Section, and also given an order number within that Section. That is why you should create your Sections before you create your fields.
Some things to remember about Section ordering:
- Numbers precede alphabetical titles.
- Remember to add a zero before single digit numbers in the title of a section. The first number in the title will determine the order, not the actual numerical value assigned (e.g. if you create a section called 1. Accomplishments will come after a section title .05 Accomplishments.
- You can mix numbers and letters (1.b, 1.c, 1, d, OR Z.1, Z.3, Z.4 . . . )
- When you assign display numbers to your sections, you should also start at 10 and add others in increments of 10s to leave room for possible future sections.
Sections and Triggers
The trigger system relies on sections. A trigger makes a subset of questions display when a specific section is referenced. For example, assume you create a section called "Ice Cream." You put a field called "Do you like ice cream?" in that section. If you answer Yes, a trigger displays additional questions like "What is your favorite flavor?" and "What is your favorite brand?" If you say No, then you would not see these questions.
NOTE: Triggers point to sections, not individual questions. So if you want just one question to trigger additional questions (like our ice cream question above), you would have to create a new section for just that question.
Every field is housed in a section. Navigate to the Sections bar and click on the twist or name to open.
-
Click
Add.
-
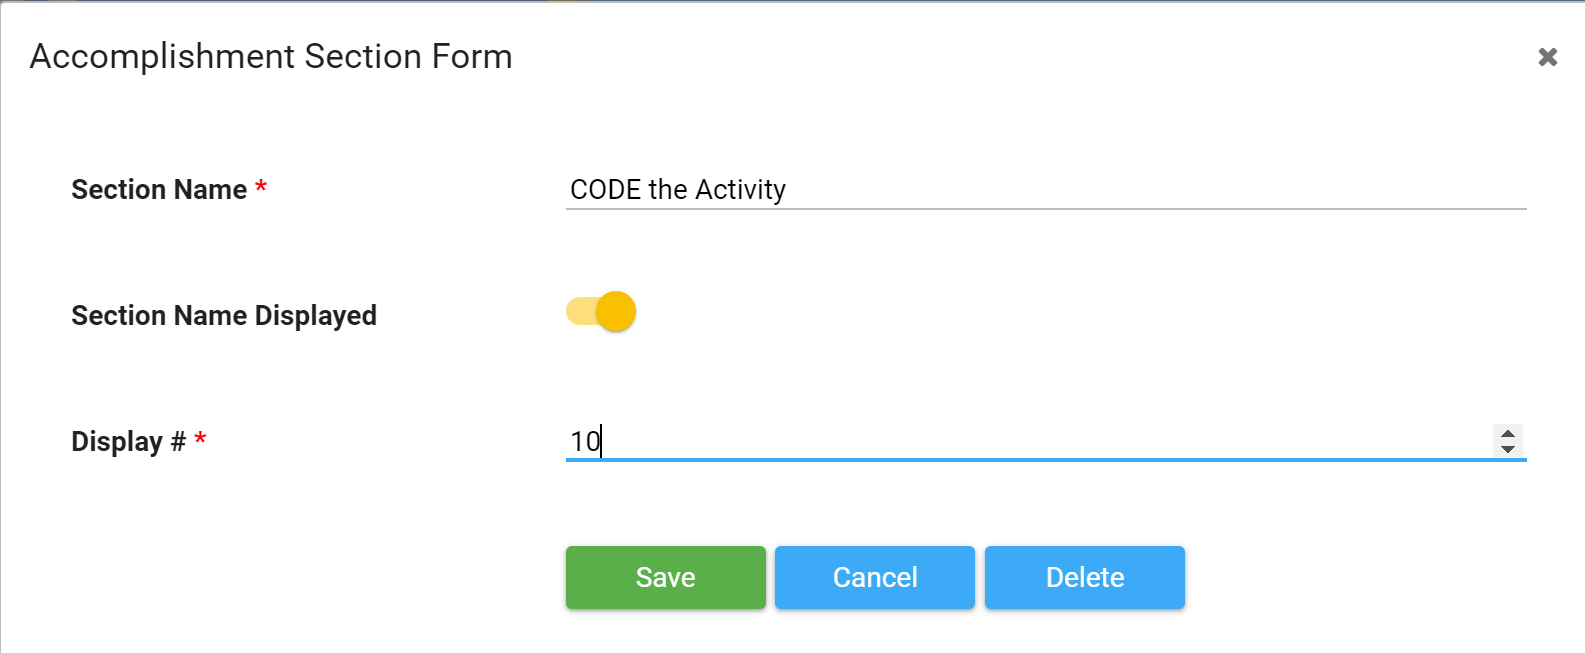
Enter
Section Name.
-
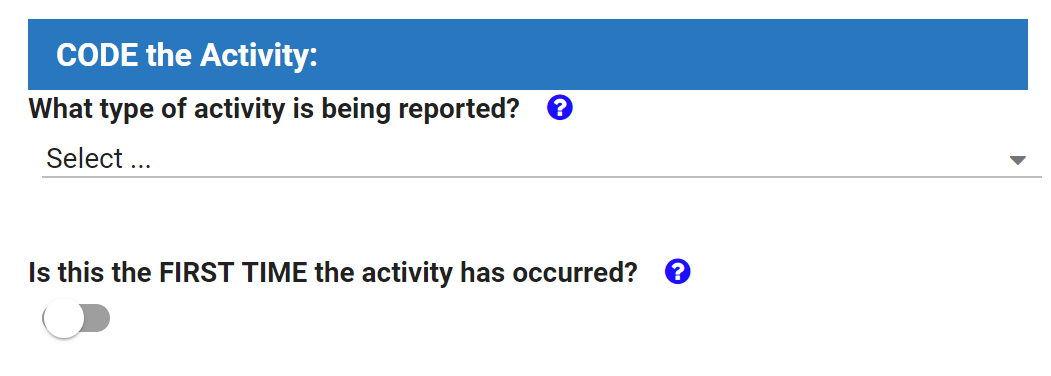
Move the toggle to the right if you want the
Section Name Displayed. This will display the section header when a users creates a new entry. Here is an example of a "CODE the Activity" section header.
What you enter when setting up the form:
|
What displays in a new accomplishment:
|
| 
|
-
Enter
Display #. When you assign display numbers to your sections, you should also start at 10 and add others in increments of 10s to leave room for possible future sections.
-
Click the
Fields bar to expand it, then click
Add.
-
Select the
Column Type: Predefined, Text, Number, Yes/No or Date. Please review all the options and select the one that is most appropriate. If you put number in a text field you will not be able to graph them.
-
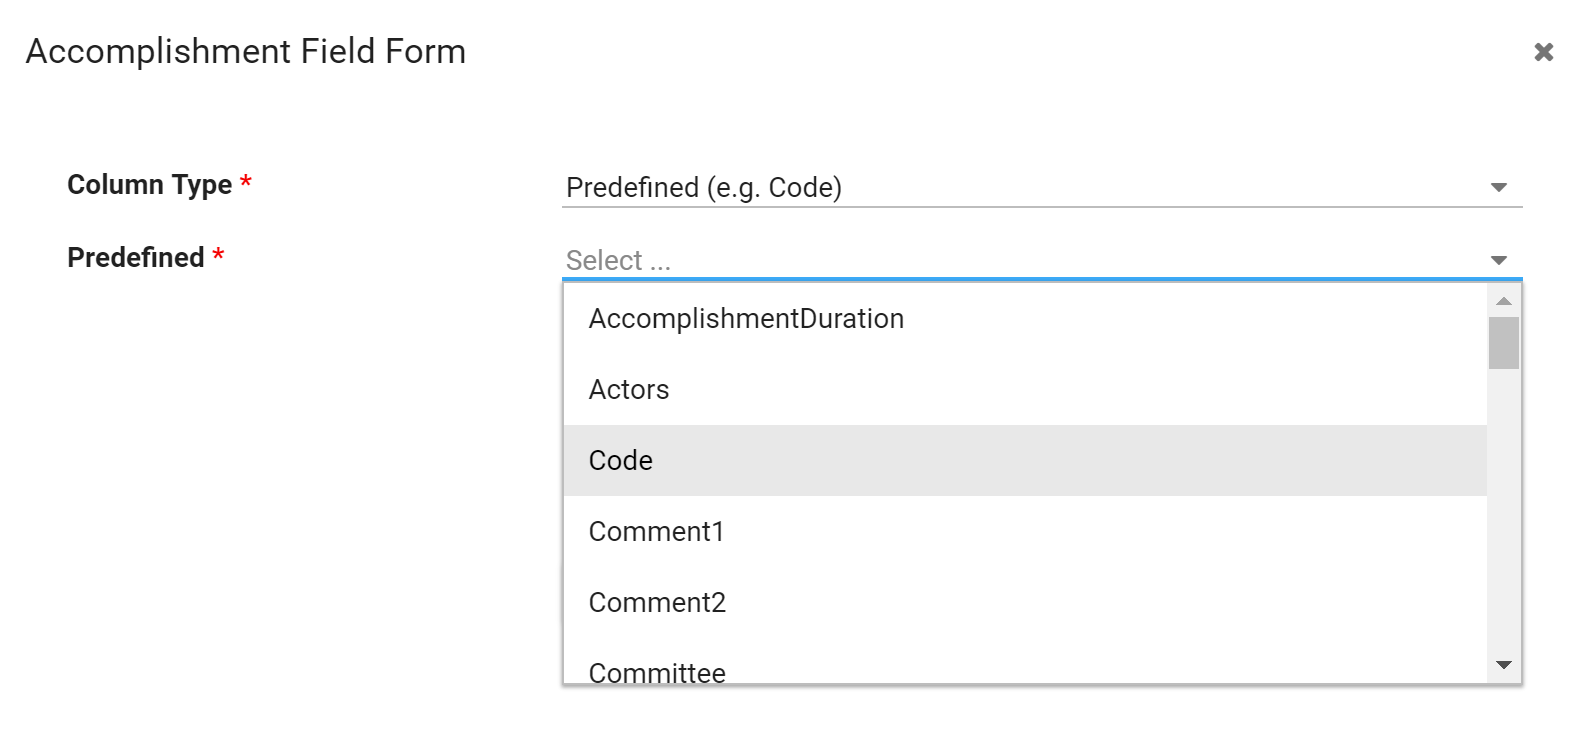
If you select Predefined (e.g. Code), you will be presented with another dropdown. There are several predefined fields that
must be used for certain functions, and others that are available but not required.
- Code - this field
must be used for Secondary Scoring to function correctly.
-
Description - this field
must be used for the accomplishment description. It is especially important if you are doing Secondary Scoring.
-
Frequency Count - this field changes the N count on a graph, and
must be used to track reach. For example, you would enter a frequency count of five in one accomplishment if you did the same event five times. If 10 people attended each time, the frequency count of five will multiply by 10 to show that you reached 50 people.
- Once you select the Column Type some, or all, of the following fields will appear. What fields appear depends on the Column Type you select.
- Column Name - this is filled in by your choice of a predefined field, or by the system.
-
Section Name - this is the name of the section you want this question to be under.
-
Field Type - depending on the column name you select, the field type may be automatically filled in or may present you with a list of options. If you select text, you will see the following options.
i.
Check boxes - displays all the options at once and provides a box to check to select the items you want.
ii.
Drop down list - only allows selection of one item. If you have a long list of items it would be better to use the multiple choice option.
iii.
Multiple choice list - use when you want the user to select multiple items, or when you have a long list of responses. This field type provides a search option that is very helpful if the list is long, or not in alphabetical order.
iv.
SharePoint lookup - If you have multiple sites that use the same information (names, organizations, etc.), we can create a SharePoint custom list for you. The information in that custom list can be pulled into the CCB using this field.
v.
Text box - provides six lines of space (by default) in a text box. The lines can be increased if needed.
vi.
Text line - use for short responses.
-
Label - this is the question you want to ask. Do not use quotes in the field names as this will cause a problem when you are exporting data.
-
List Label - this is a shortened version of the question to use as a column heading. Do not use quotes in the field names as this will cause a problem when you are exporting data.
-
Required - slide toggle to the right if you want this question to be required.
-
Listing - slide
toggle to the right if you want this column to be shown on the View Data page. Try to keep these to six or less if possible. When you add too many columns it makes that page hard to read.
-
Apply Filter - slide
toggle to the right if you want this question to appear as a filter. Filters will help you sort data in accomplishments and graphs.
-
Graph Enabled - slide toggle to the right if you would like to graph this question's results. Text Lines and Text Boxes are not graphable field types.
-
Choices - If your question has multiple choices, this is where you enter them. Choices should be entered with a "|" (called a pipe) between choices. There should not be any spaces before or after a choice.
-
Default Value - If you have several choices, but know that most of the time the answer is one of those choices, you can select that answer as the default value. This will save time for the person entering the data.
-
Display # - this is the display order for the question within the Section.
-
Help - enter any help text that you want displayed for the user. Help text appears on the new entry form as a blue question mark beside the question.
-
Choose the appropriate option and click
Save.
-
Repeat to add all the fields you need.
-
When you are done, click
Save to update the form.
A trigger allows an additional subset of questions to display when a specific answer is chosen. For example, assume you create a section called "Ice Cream." If you answer Yes to the "Do you like ice cream?" question in that section, a trigger would display additional questions like "What is your favorite flavor?" and "What is your favorite brand?" If you say No then you would not see these questions.
Here's another example that is more relevant to the CCB. When a user selects Media from the Code field, all of the questions relevant to Media will be displayed on the entry form. If the user chooses a different Code then different questions will be displayed.
It is important to place relevant questions in relevant, associated sections (e.g. questions about resources generated or donated time go in the Resources section). A trigger applied to the Section containing the Code Field (i.e. the Community Change (CC) code will display all of its relevant questions associated with the code(s) selected.
- Click the Triggers bar to expand it, then click Add.
-
Select the
Source Field from the dropdown menu.
-
Select the
Target Section from the dropdown menu.
-
Select the
Trigger Values.
Repeat as needed for additional triggers.
-
Click
Save
to save the form.
Using intensity scoring will provide you with a clearer indication of the “dose” of the intervention being delivered in the community. Higher intensity community policies and programs is associated with improved population-level outcomes.
Duration, Reach, Strategy, and Intensity Scoring fields must be created before intensity scoring will work, and they must be set as dropdown lists. If you do not see your duration, reach and strategy questions in the Intensity Score Configuration menu, go to those fields and change them to dropdowns if needed. We usually put the Intensity Scoring field at the bottom of the accomplishment entry form. The users should not be able to enter data into that field because the intensity score is calculated by the system.
We also provide the option of including Goal and Target questions in the calculation of the intensity scoring. Each categorical variable is converted to a number and then combined using a formula.
Here is an example of how scoring is applied. Please talk to our research staff if you have questions about this scoring.
Duration
One-time event=0.1
More than once = 0.55
Ongoing = 1.0
Reach
Low = 0.1
Medium = 0.55
Ongoing = 1.0
Strategy
Providing information & enhancing skills = 0.1
Enhancing services & support = 0.55
Modifying consequences = 0.55
Modifying access, opportunities & barriers = 1.0
Modifying policies = 1.0
Formula= (Duration+Reach+Strategy)/3
If you also use Goal and Target, the formula will be (Duration+Reach+Strategy+Goal+Target)/5.
- Click the
Intensity Score Configuration bar to expand it.
- Under
Duration select the question from the dropdown that tracks duration. If you don't see the question you want, go back to that field to make sure that it has been setup as a dropdown field.
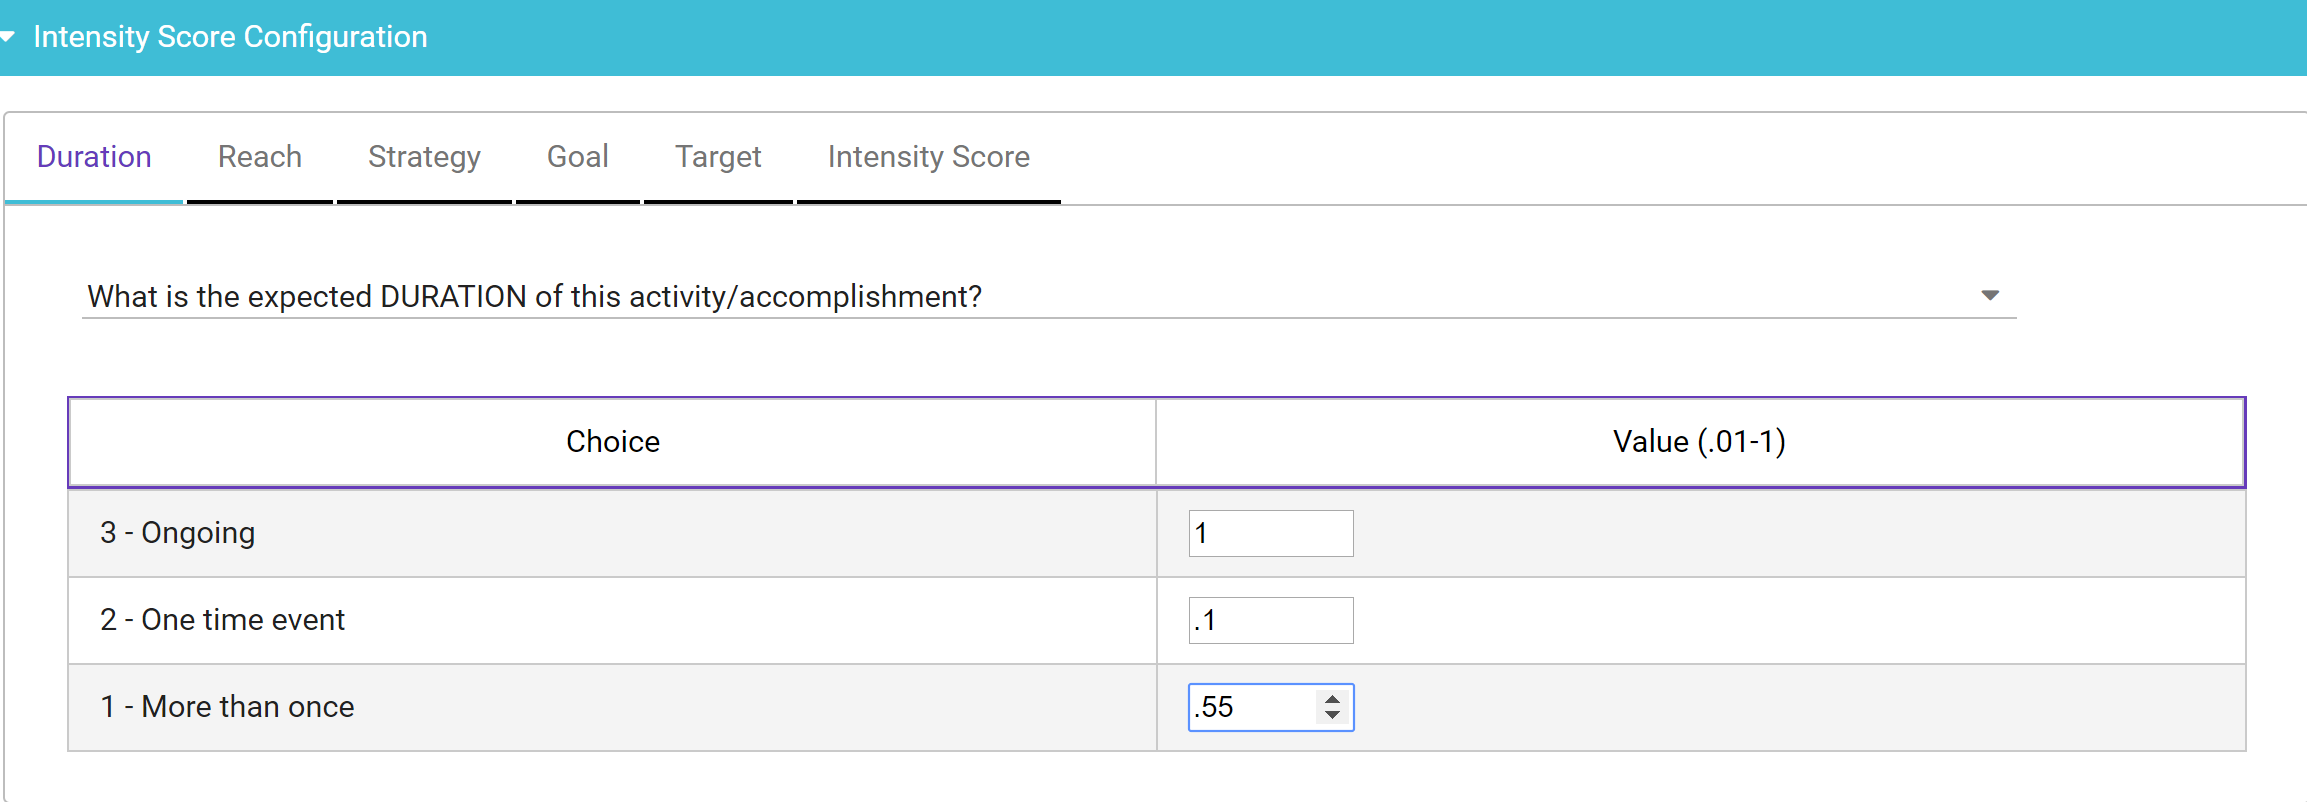
- The responses will display below the question. You need to add a value to each response. We will use the values just mentioned.
- Click Reach and select the question that tracks reach.
- Enter the values for the reach question.
- Click Strategy and select the question that tracks strategy.
- Enter the values for the strategy question.
- If you are using
Goal and
Target, click on those tabs and add the values.
- Click
Intensity Score and select the intensity score question
- Click
Save.
NOTE:
-
Only Site Owners and KU staff have the ability to import accomplishments. The link will be grayed out for everyone else.
-
The import file must be an Excel document in the .xlsx format,
not the .xls format.
-
You must import more than one row of data in the file, or you will receive an error message. If you have just one row, please enter it manually.
If you need to import data into your CCB, you can do that by using field mapping. The column headers do not need to match exactly. You choose which column in your import file matches with an existing accomplishment field in the CCB. Each
new entry will create three versions. The second and third versions can be used in scoring.
Select your CCB form.
-
If you only have one CCB form, click on the
View Data button on the dashboard.
-
If you have more than one CCB form, select the appropriate form under Accomplishments in the left navigation bar.
-
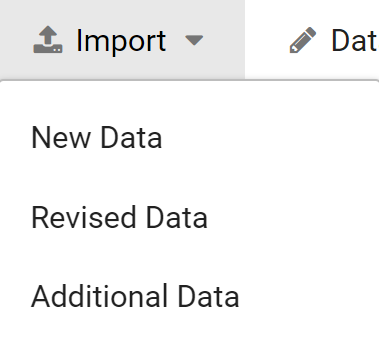
Click Import and select the appropriate option.
-
New Data - use this option to import new data into a CCB with no data. You will import one version and the system will make two additional versions that can be used for scoring.
-
NOTE: For New Data, you must include the all of the system columns at both the front and back ends: Observer, Data, and Name up front; Main Data Key, DataID, CreatedOn, CreatedBy, ModifiedOn, ModifiedBy, and Delete at the back end.
-
The Observer field should have a "1" in it (do not attempt to create entries for Observers 2 and 3, since the system generates them).
-
The system fields at the end of the .xlsx should be blank, since the system will generate them with your SharePoint name. The timestamp for Created and Modified will be the exact time of your import.
-
Revised Data - use this option to import data you have previously exported and edited. Your export needs to include all three versions of existing data. Be sure to save as an Excel document before importing.
-
Additional Data - use this option to add data to a CCB that already has data. You will import one version and the system will make two additional versions that can be used for scoring.
-
Click Choose File, and select the file you want to import.
-
Make sure that your headers appear under
Available Excel Columns, then click
Auto Map.

-
For any fields that don't auto map, click and drag the column name from the far left column to the matching blank column on the right.
NOTE: Be sure to get the arrow in the middle of the box. That will help you avoid moving options to the wrong line. If you move something to the wrong blank line, you have to start over. -
Continue until all fields are mapped.
-
Clicked Validate.
-
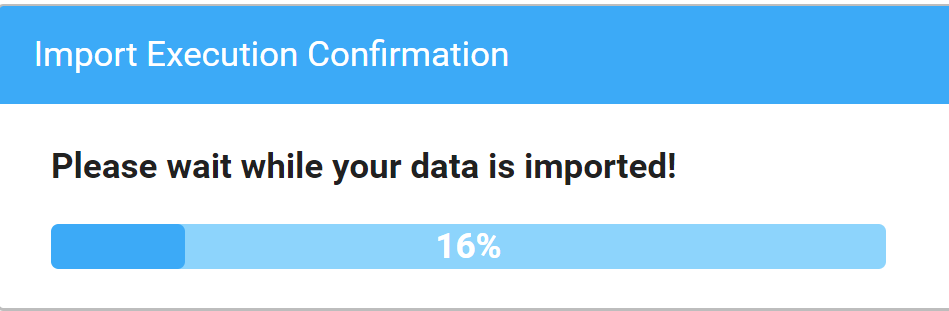
If the data is validated as expected, or if you receive a validation report saying "no errors," click Import. When you import you will see the spinning circle if your import is short. If it takes longer, the spinning circle will turn into a status bar so you can see the progress of your import.
- If you receive validation errors:
- Copy all the errors into a Word document. If you don't do this, you will lose the validation errors when you move off this screen. The system will currently only generate the first 500 errors.
- Review these errors to see if you need to clean up the data in your import file. You may need to check both the export file and the CCB form to determine where the errors occur.
- Clean up the issues, save the import file, and go back to step 1.
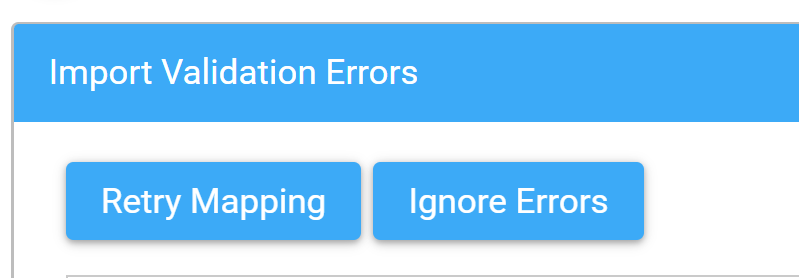
-
If the validation is not correct but no error appears, click Retry Mapping.
-
You will also see an option to Ignore Errors. ONLY USE THIS OPTION IF: You have old data that you need to keep, like previous staff names that are no longer on your form. Be sure to clean up all other errors before you select this option.