Managing Participants' Description
You have the ability to add a Participants' Description webpart to your WorkStation to capture information about people being served by your initiative. For example, you can collect demographic data such as age, gender, and race, as well as geographic data such as zip code. As an Administrator, you can Manage Participants' Description Sub-Categories inside the Participants' Description webpart.
If you need to add a webpart to your main page, you can either ask us for assistance (toolbox@ku.edu or 785-864-0533), or follow the instructions for Customizing your CCB. After the webpart has been added, follow the instructions below to configure that webpart as you want it. 
Setup Participants' Description form
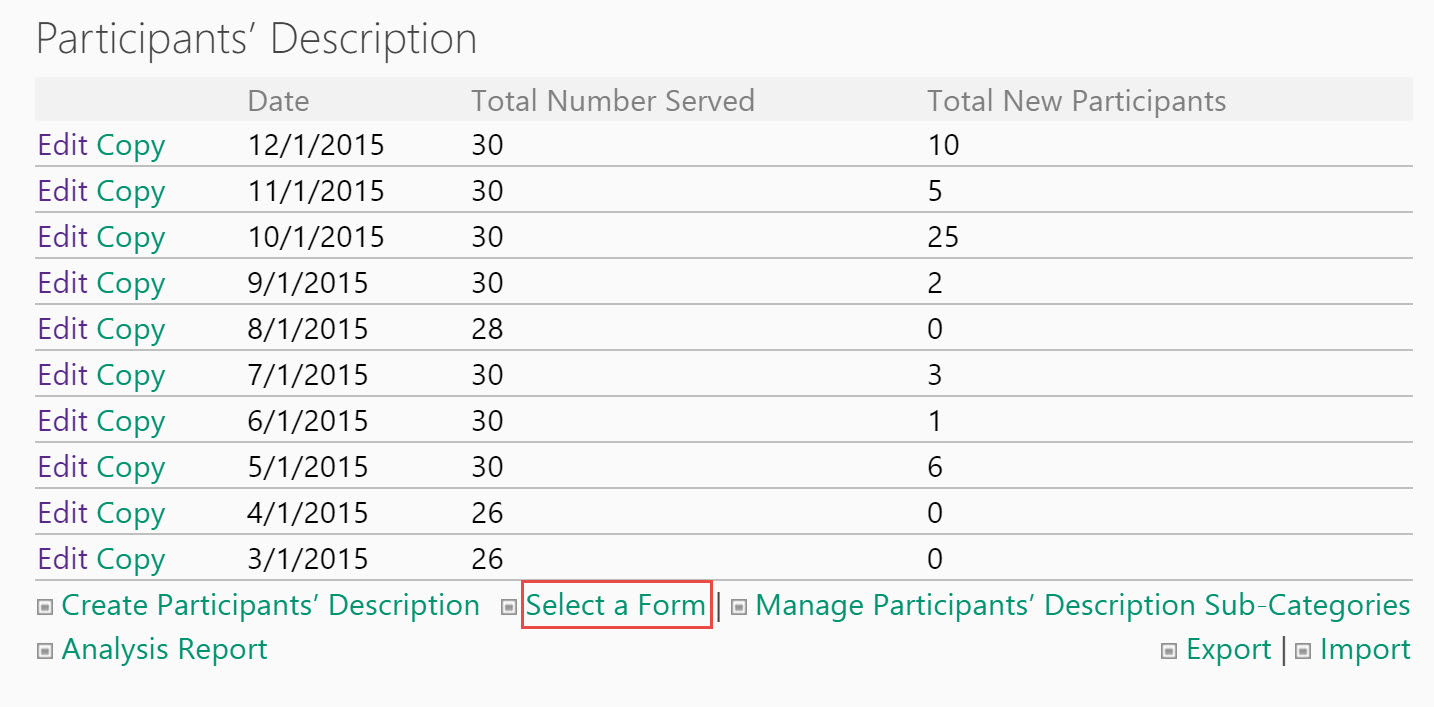
After you create the Participant's Description webpart, you need to associate it with a form by clicking on Select a Form and choosing the appropriate form. After that is done, click on Manage Participants' Description Sub-Categories to view the Management page.

From this page, you can manage:
- Categories – the area of concern of the question (by default Demographic and Geographic).
- Sub-Categories – the questions (non-existent by default).

Add or edit Delivery Category
If you need to edit or create a Delivery Category, click on Participants' Description Category Management.

To edit an existing Category, click on the Edit button next to it, and proceed to make changes. Don't forget to save them. To create a new Category, click on Create Delivery Category, give it a name and save it.
Add or edit Delivery Sub-Category
To illustrate how to create a sub-category, we will use the default Demographic category and create a sub-category called "Age":
- Click on Create Delivery Sub-Category.
- Select "Demographic" as the Delivery Category.
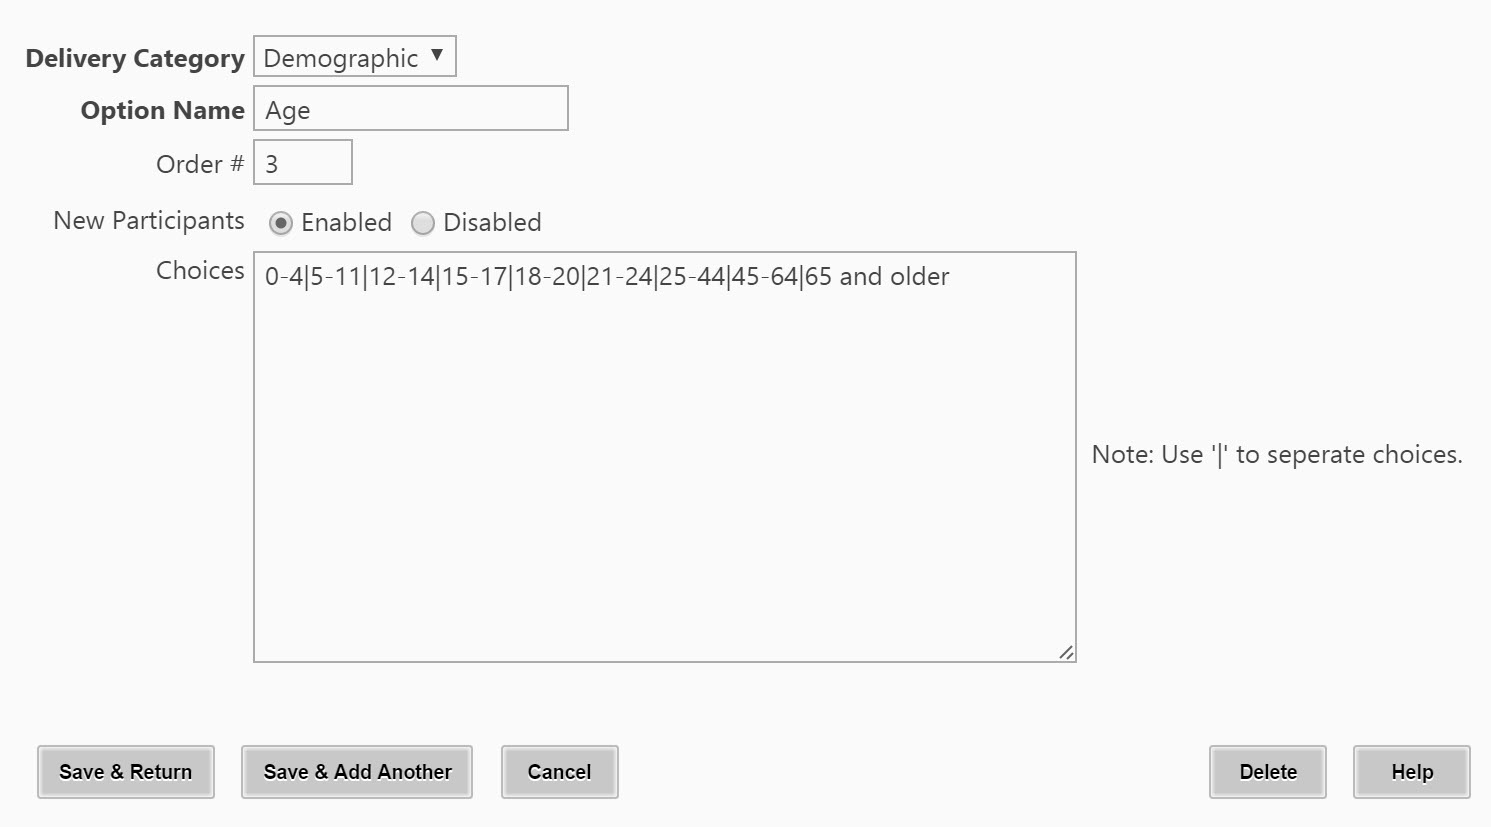
- Enter the Option Name ("Age" for our example).
- Enter the Order # if you want your options to appear in a defined sequence.
- Select Enabled for New Participants.
- Enter the age ranges you want to track, separating each with a '|'.
- Select Save & Return.
- Repeat these steps to add other sub-categories as needed.

To edit an existing Category, click on the Edit button next to it, and proceed to make changes. Don't forget to save them.

Entering Participants' Description Data
For instructions on entering participants' description data please go to Entering Participants' Description Data.