(back to Site Owner Help)
You need to understand group permissions before you begin creating user accounts. As a site owner, you can create or delete SharePoint groups. By deciding which users are members of these groups, you can use groups to control access to your sites and content. Each WorkStation has three groups by default: Members, Owners and Visitors. You must assign each user to one of these groups.
NOTE: If you are going to create subsites, be sure to review the information in the Groups for Subsites before you begin creating user accounts.
Create a list of people who need to access your WorkStation and determine which of the following access levels is appropriate for each person. You will need the group assignments when you create their accounts. By default, the permissions that you grant at the main site level will also apply to any subsites created, but you can change that.
- Members – can view, add, update and delete entries.
- Owners – have full control. They can view, add, update, delete, approve and customize.
- Visitors – can read/view only.
Groups for Subsites
If you are going to create subsites under your main site, you need to be sure to create the groups in the correct location so everyone receives the appropriate level of permission. Groups that need access to the main site should be created there. Groups that need access to the subsite should be created there.
Disinheriting Group Permissions
By default, group permissions granted at the main site level also apply to any subsites created, but you can change that by "disinheriting" the subsite from the main site. For instructions on disinheriting permissions on a new subsite go to the Creating Subsites section.
To disinherit group permissions from the main site:
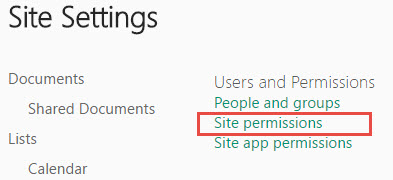
Go to the subsite
Site Settings page. Under Users and Permissions, click on
Site permissions.
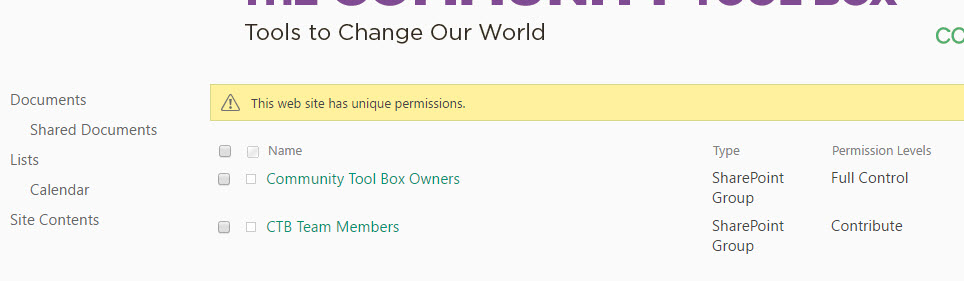
You will see a list of all the people and groups. The only groups that should be here are the ones that need permission to
this subsite.
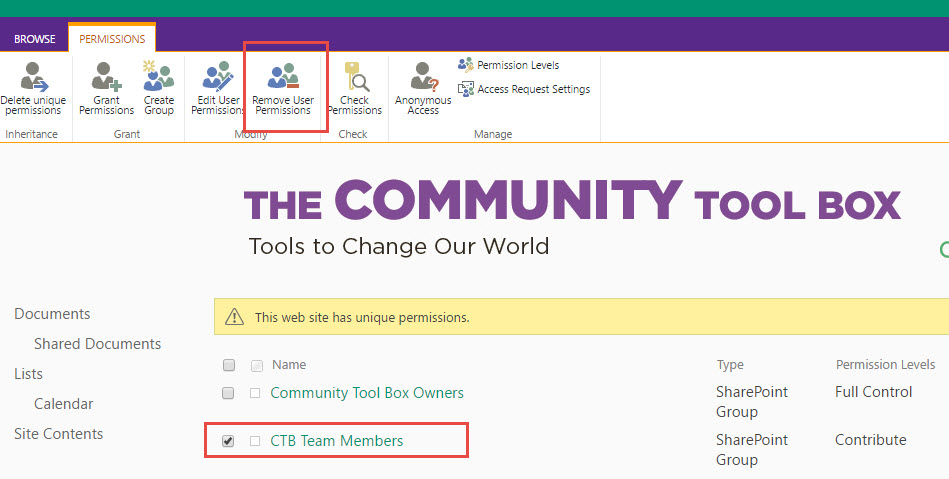
Check the boxes for the group(s) that you need to delete, and select
Remove User Permissions
For instructions on adding new or existing users to sites or subsites go to the Managing Users section.
Everyone who needs access to a disinherited subsite must have at least Visitor permission on the main site. That allows them to view the main site and see the links to their subsite. You need to go to the subsite to grant them separate permissions there.
Creating New Groups
You have the ability to create groups in addition to the default groups of
Members,
Owners and
Visitors.
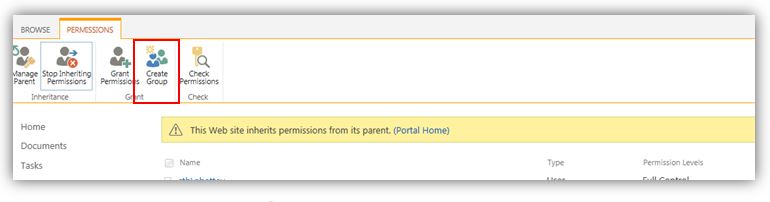
From the appropriate WorkStation page (main or subsite), go to the Site Settings page. Under Users and Permissions, select Site Permissions
On the top ribbon, select
Create Group
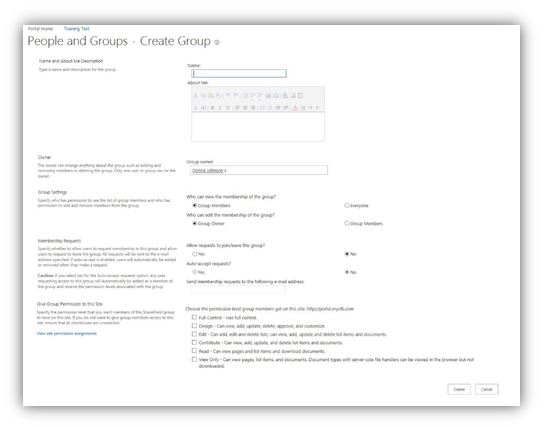
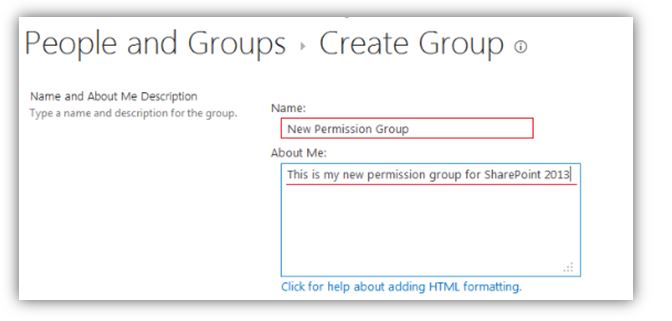
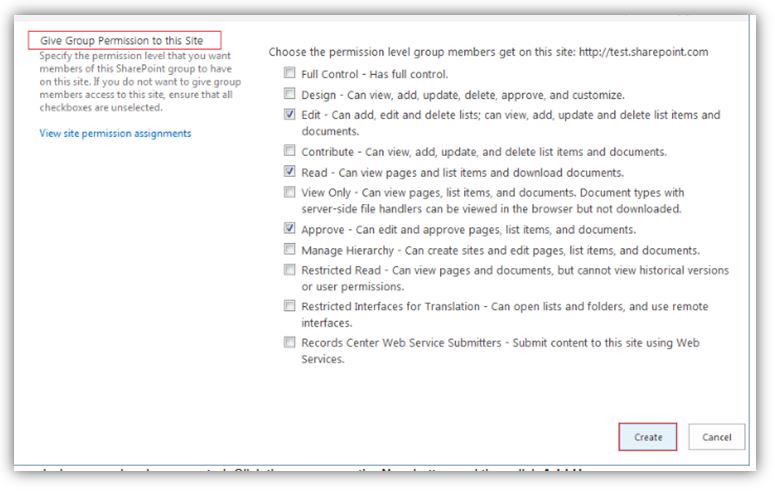
Enter the name and description for your new group
Choose the owner of this group and specify the necessary settings.
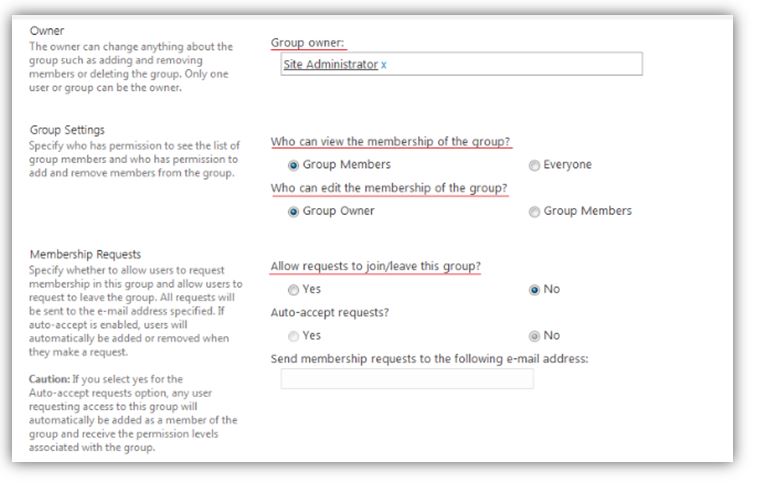
Choose the permissions for this new group and click
Create
To Delete a Group
Click
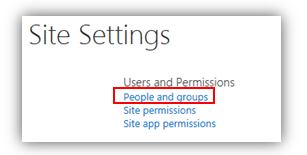
Site Settings >
People and Groups
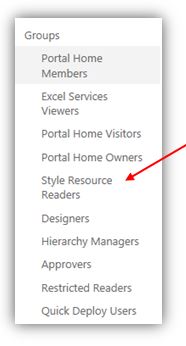
In the Quick Launch, click the name of the SharePoint group that you want to delete
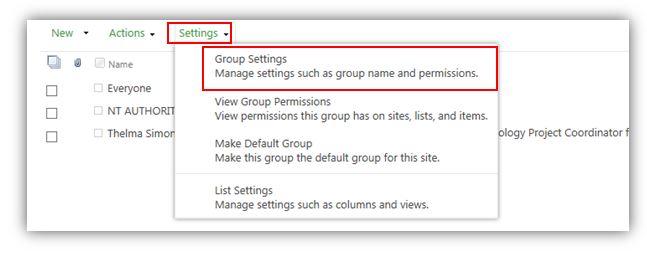
Click
Settings, and then click
GroupSettings
At the bottom of the Change Group Settings page, click
Delete
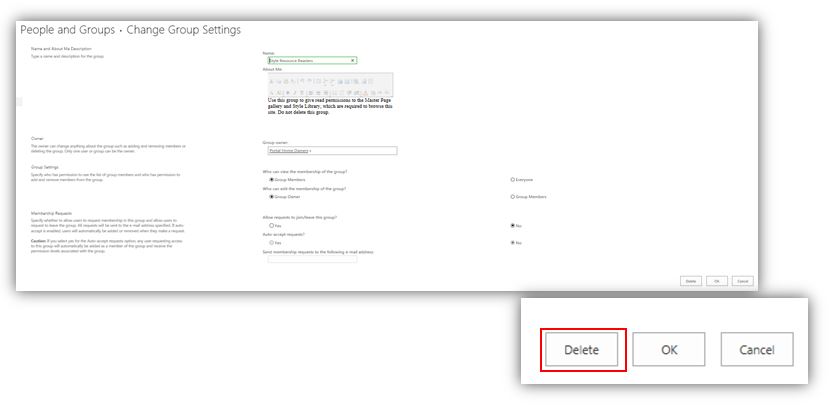
In the confirmation window, click
OK
It is relatively easy to use your group member list to send an email. Here are the steps.
Click the gear icon in the upper right of the WorkStation.
Select Site settings from the dropdown list.
Click People and Groups under the Users and Permissions heading.
Click the group you want.
Check the box at the top to select all members.

Click Actions, and then select Email Users.
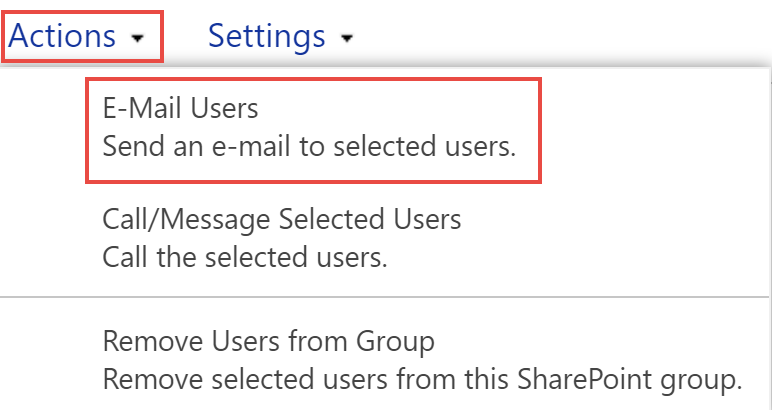
That should open a new message in your email program with all the group members in the To field.
Add the subject, text, and send!